This article explains how login and registration work in WPRentals, where the login/register form can be displayed, and what each register/login option controls.
You can use the login/register form as a modal, as a shortcode on a page, or as a widget in a standard WordPress sidebar. The same register settings apply to all these display methods.
Video Tutorial
Enable User Registration in WordPress
Before users can register on your website, WordPress must allow public registration.
Go to WP-Admin > Settings > General and enable:
Membership: Anyone can register
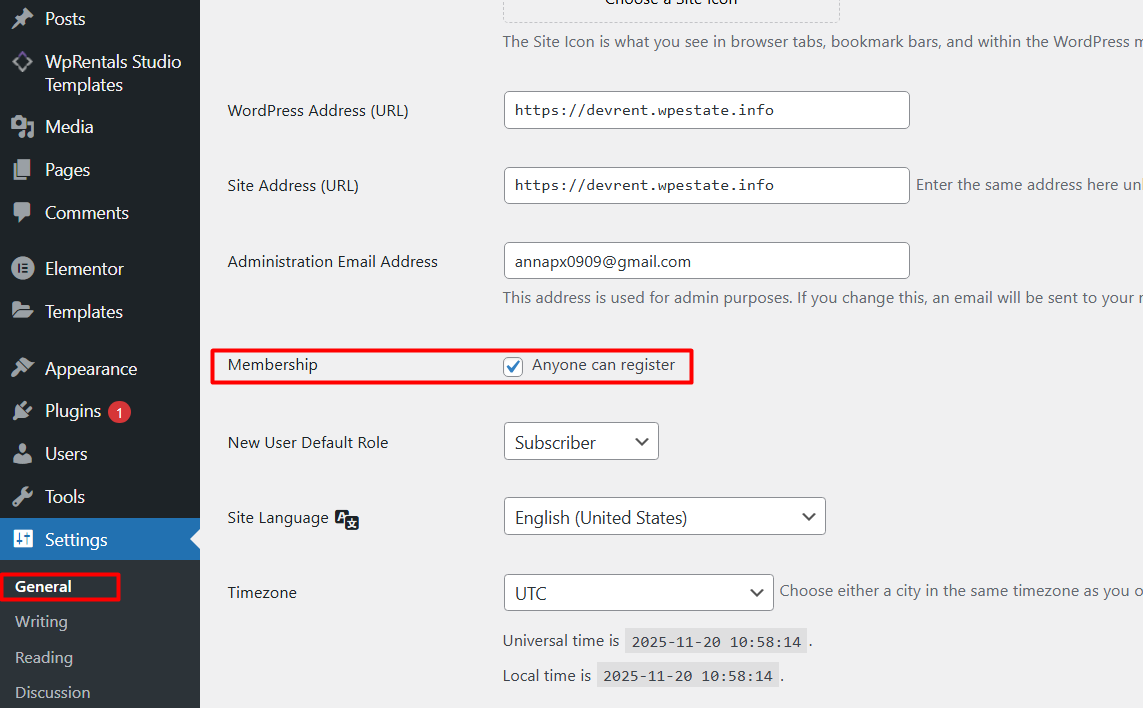
If this WordPress setting is not enabled, users will not be able to register correctly, even if the WPRentals register options are enabled.
Where the Login/Register Form Can Be Displayed
WPRentals can display the login/register form in three main ways.
1. Login/Register Modal
The login/register modal is the pop-up form used by the theme when a visitor needs to log in or register.
The modal can be triggered from:
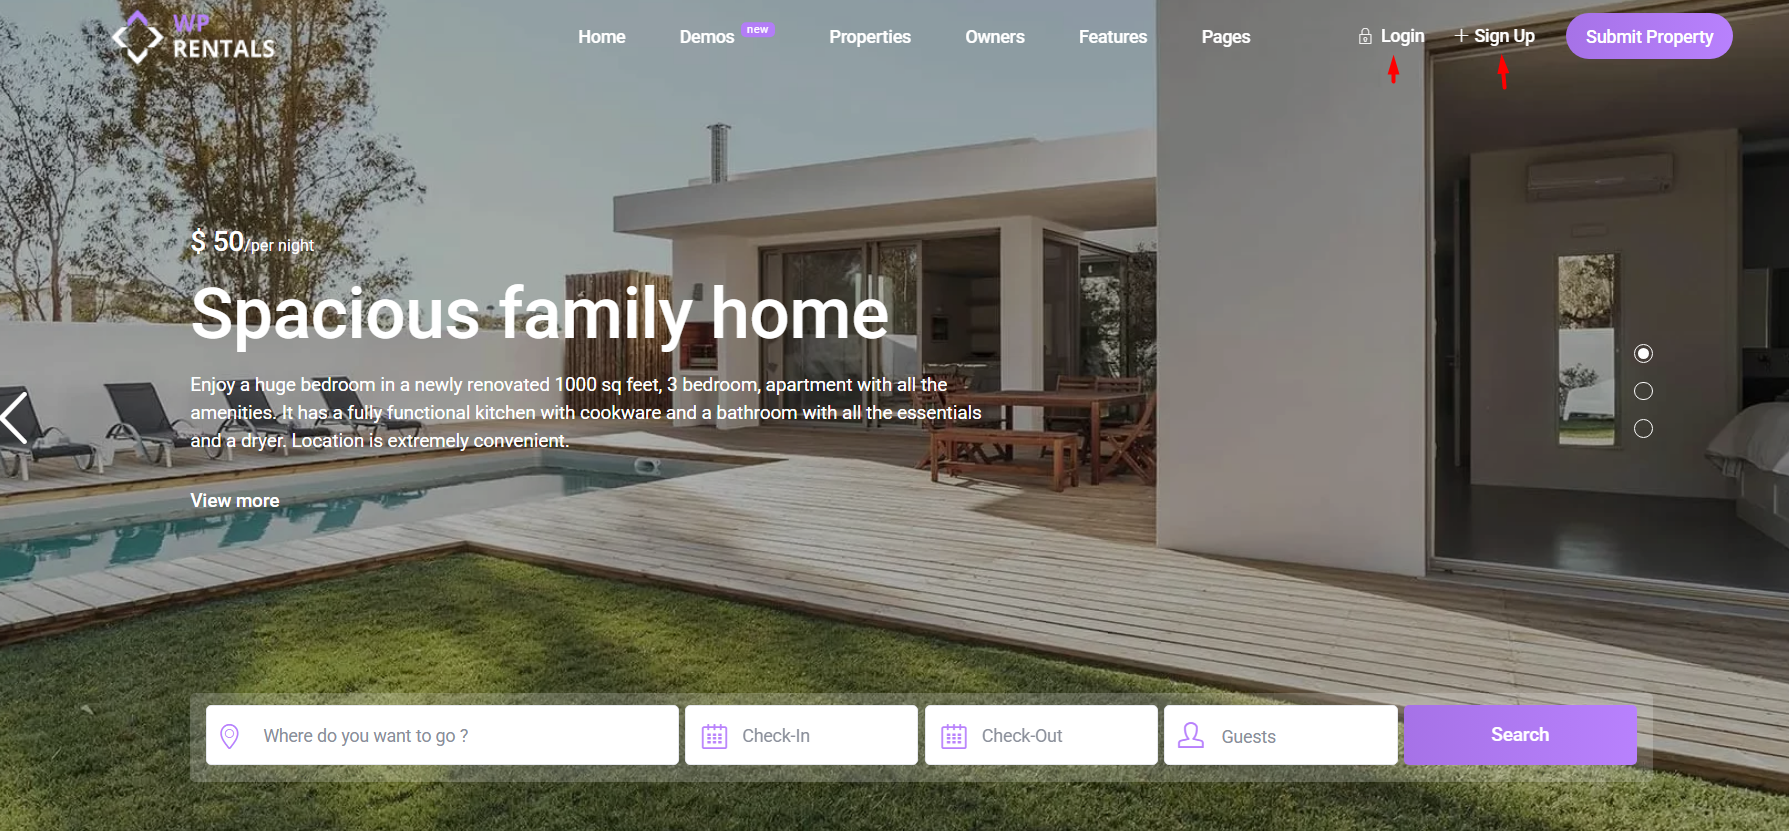
- the Header / Menu login link
- the booking form, when a visitor tries to send a booking request while logged out
- the favorite listings action, when a logged-out visitor tries to save a listing
- other theme actions that require a logged-in user
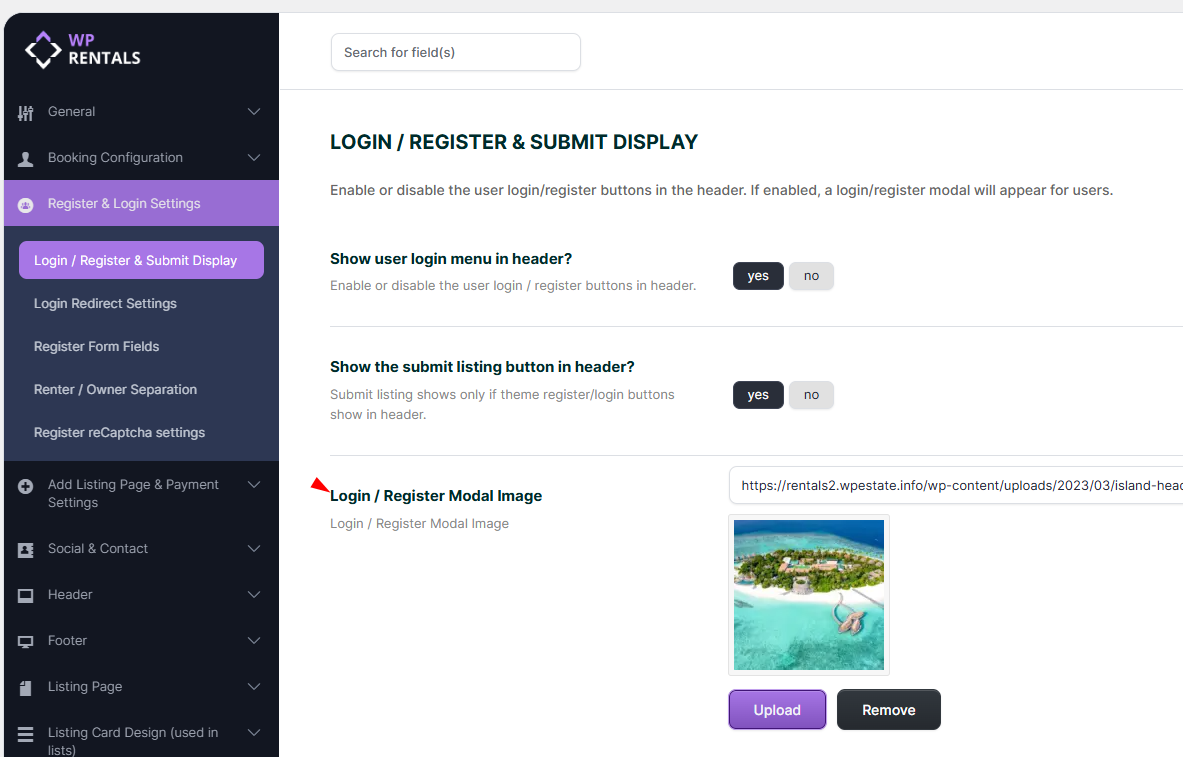
The modal settings are managed from:
Theme Options > Register and Login Settings
You can also change the image shown in the login/register modal from the same settings area.
2. Login/Register Shortcode
You can add the login/register form to a page using the theme shortcode.
This is useful if you want a dedicated Login/Register page instead of only using the modal.
3. Login/Register Widget
You can also use the Login/Register widget in standard WordPress widget areas, such as sidebars or footer widget areas.
The widget is for standard WordPress sidebars and widget areas. It is not an Elementor widget.
When the visitor is logged out, the widget shows the login/register form. When the visitor is logged in, it shows dashboard links instead.
The modal, shortcode, and widget all use the same register/login settings from Theme Options > Register and Login Settings.
Header Login and Submit Buttons
These options control whether the login/register link and Submit Property button appear in the header/menu area.
Show User Login Menu in Header? is managed from: Theme Options > Register and Login Settings > Show User Login Menu in Header?
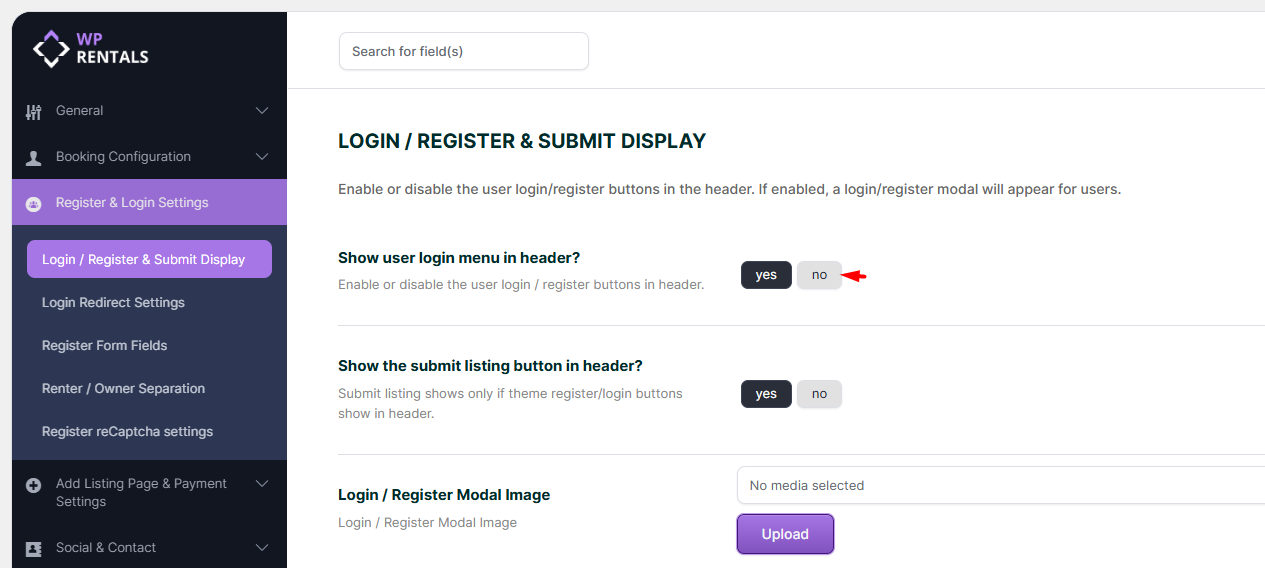
- YES – the Login/Register link is displayed in the header.
- NO – the Login/Register link is hidden from the header.
Hiding the header login link does not remove the login/register requirement from the website.
For example, if a visitor tries to send a booking request and is not logged in, the login/register modal will still appear on the property page.
Show the Submit Listing Button in Header? controls whether the Submit Property button is shown in the header.
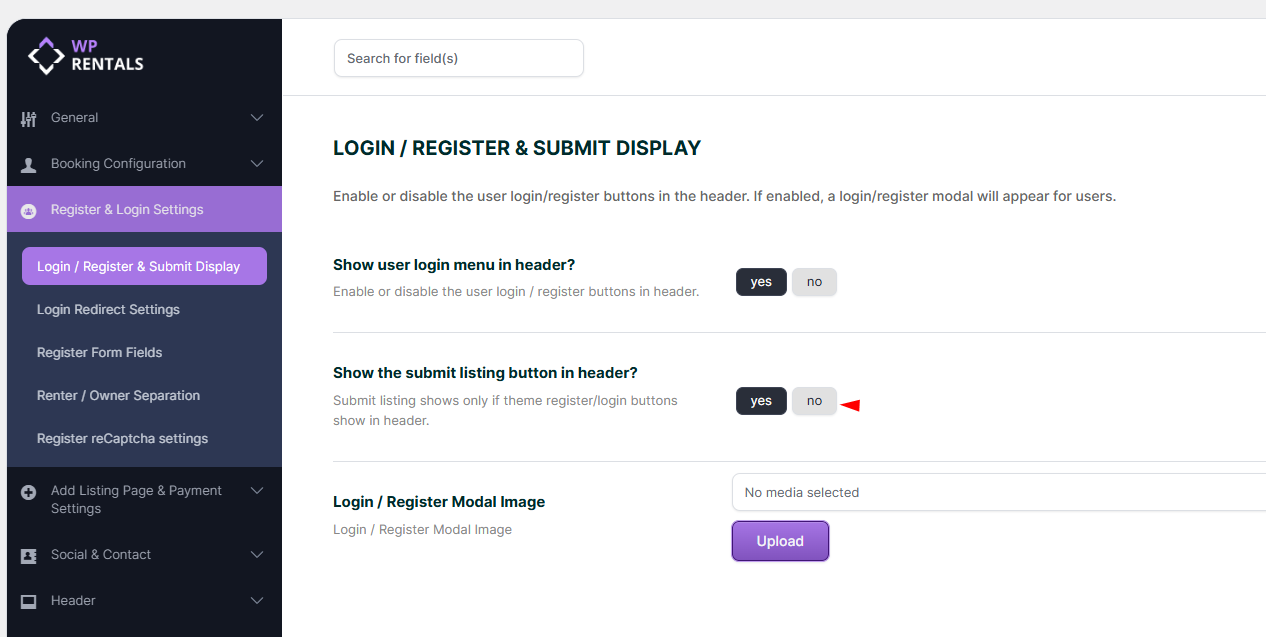
- YES – the Submit Property button appears in the header.
- NO – the Submit Property button is hidden from the header.
Clicking the Submit Property button sends users to the Submit Property page.

Users must register or log in before completing a property submission.
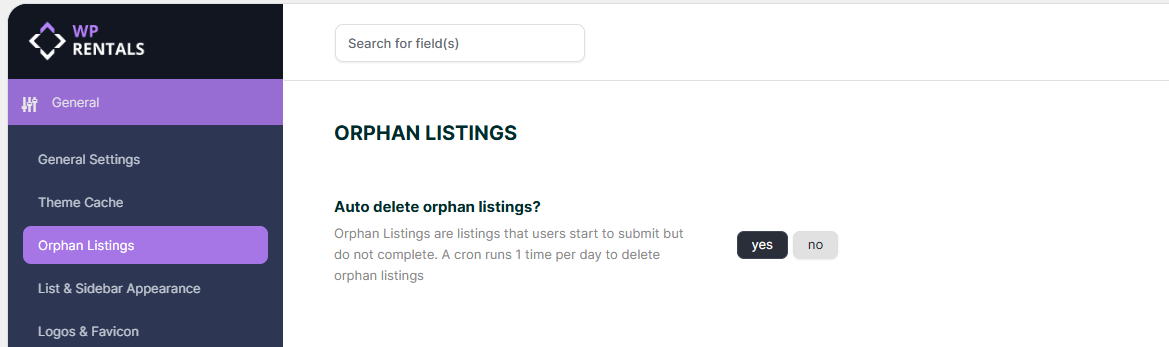
If a listing is started by a user who does not complete registration, it may be treated as an orphan listing. You can manage orphan listing cleanup from:
General > General Settings > Auto delete orphan listings
Learn more about hiding the submit option
Redirect Users After Login
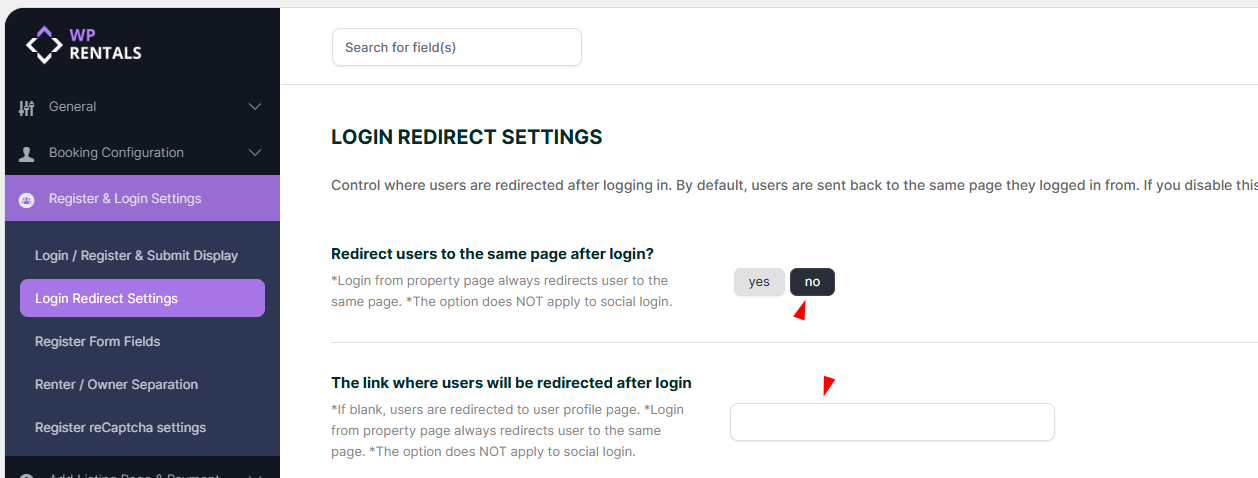
Login redirect settings are managed from:
Theme Options > Register and Login Settings > Login Redirect Settings
Use the option:
Redirect users to the same page after login?
- YES – users stay on the same page after login.
- NO – users are redirected to the custom URL set in Theme Options.
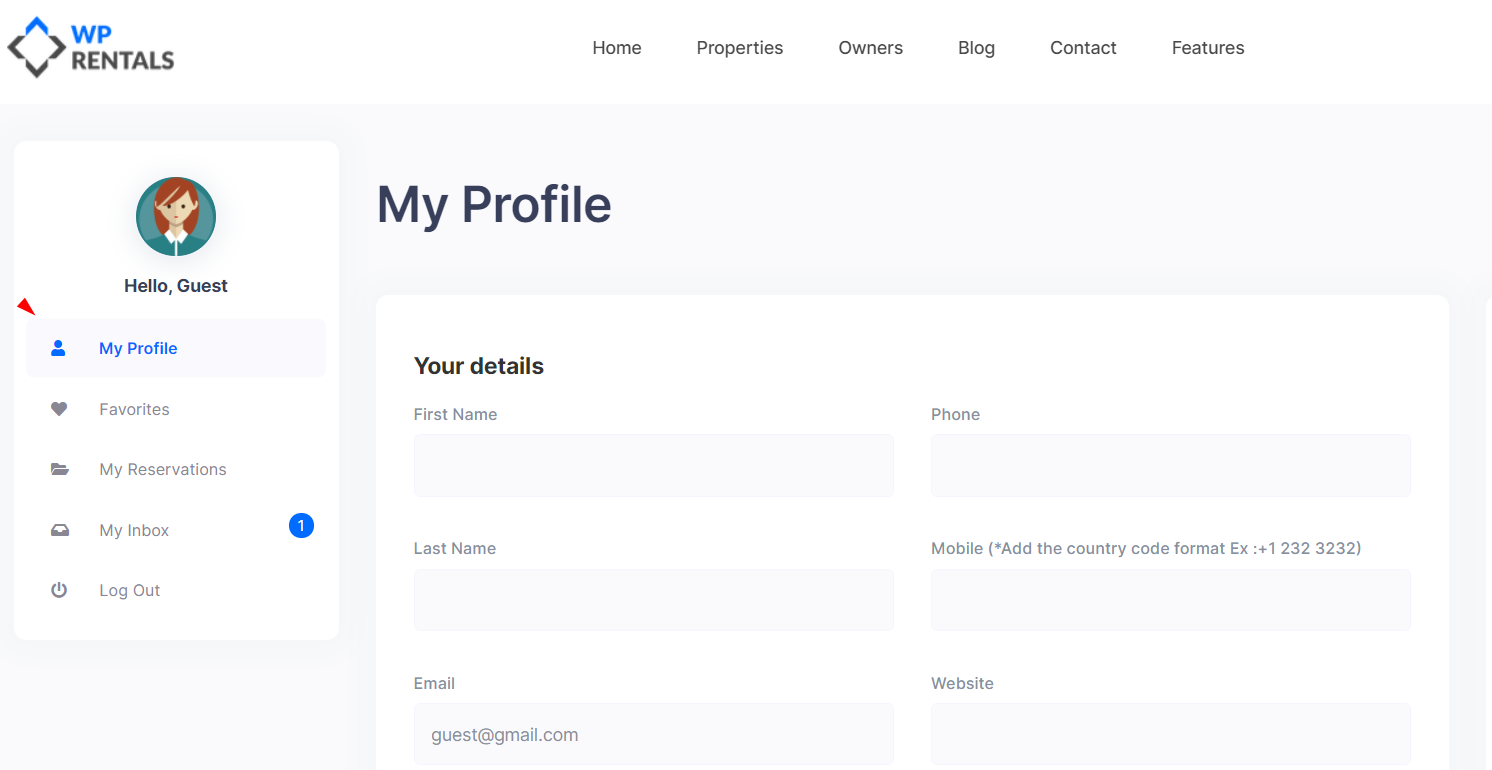
If no custom redirect URL is set, users are redirected to My Profile in the User Dashboard.
Redirect Exceptions
- If a user logs in from a property page, they stay on the same property page so they can continue the booking.
- If a user logs in from the Submit Property page, they are redirected to continue editing the listing.
If login redirection does not work, test with a simple standard WordPress page. Avoid using an Elementor-edited page as the login redirect page.
Register Form Fields
Register form fields are managed from:
Theme Options > Register and Login Settings > Register Form Fields
Can Users Type Their Own Password During Registration?
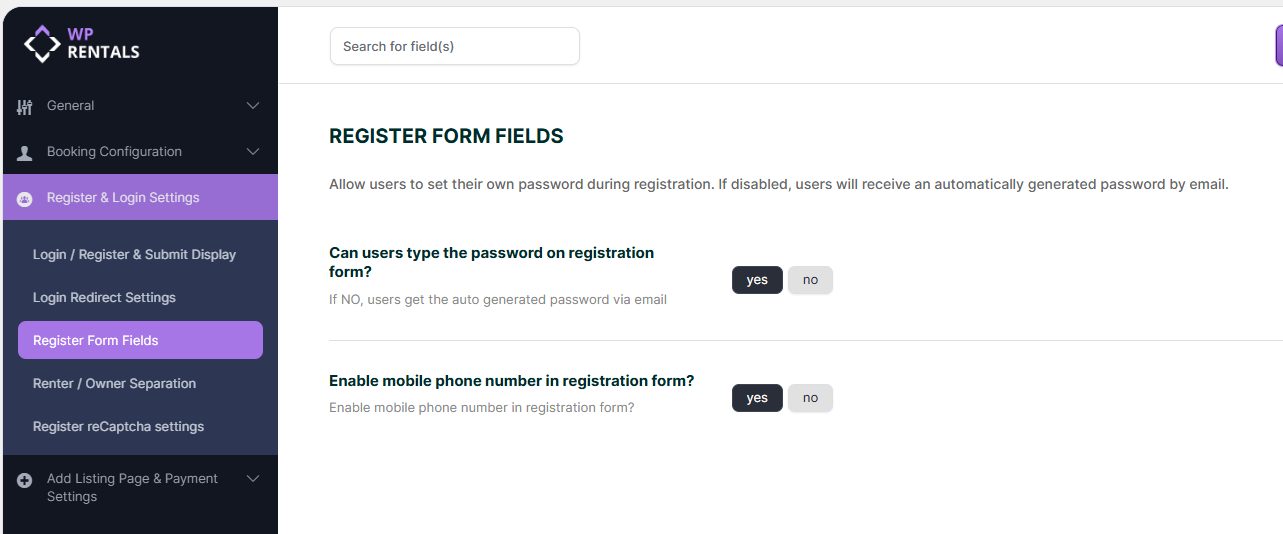
- YES – users create their own password during registration.
- NO – the system generates a password and emails it to the user.
When users can create their own password, the register form includes:
- Username
- Password
- Password confirmation
The password field includes a strength check. Only medium and strong passwords are accepted.
Enable Mobile Phone Number in the Registration Form?
- YES – a Mobile Phone field is added to the register form.
- NO – the Mobile Phone field is hidden.
The phone number field is not verified after submission.
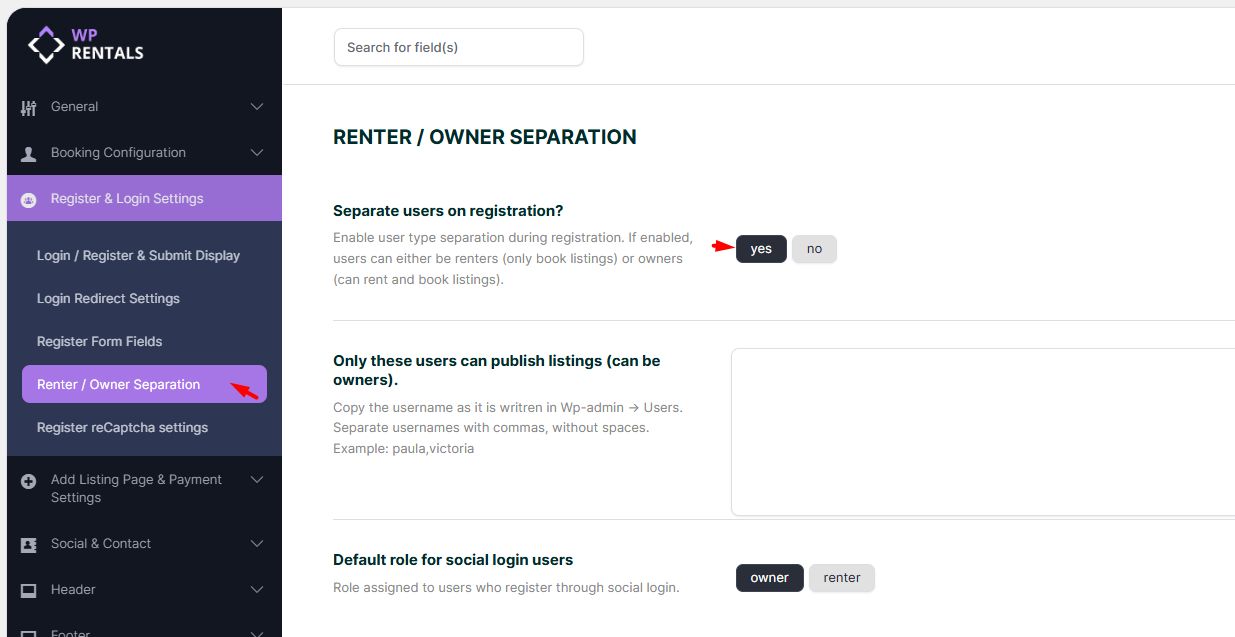
Renter and Owner Access Options
This section controls what type of account is created after registration and who can submit properties from the front end.
The options are managed from:
Theme Options > Register and Login Settings > Renter / Owner Separation
Allow only certain users to submit properties in the front end
Option 1: Enable Renter / Owner Separation
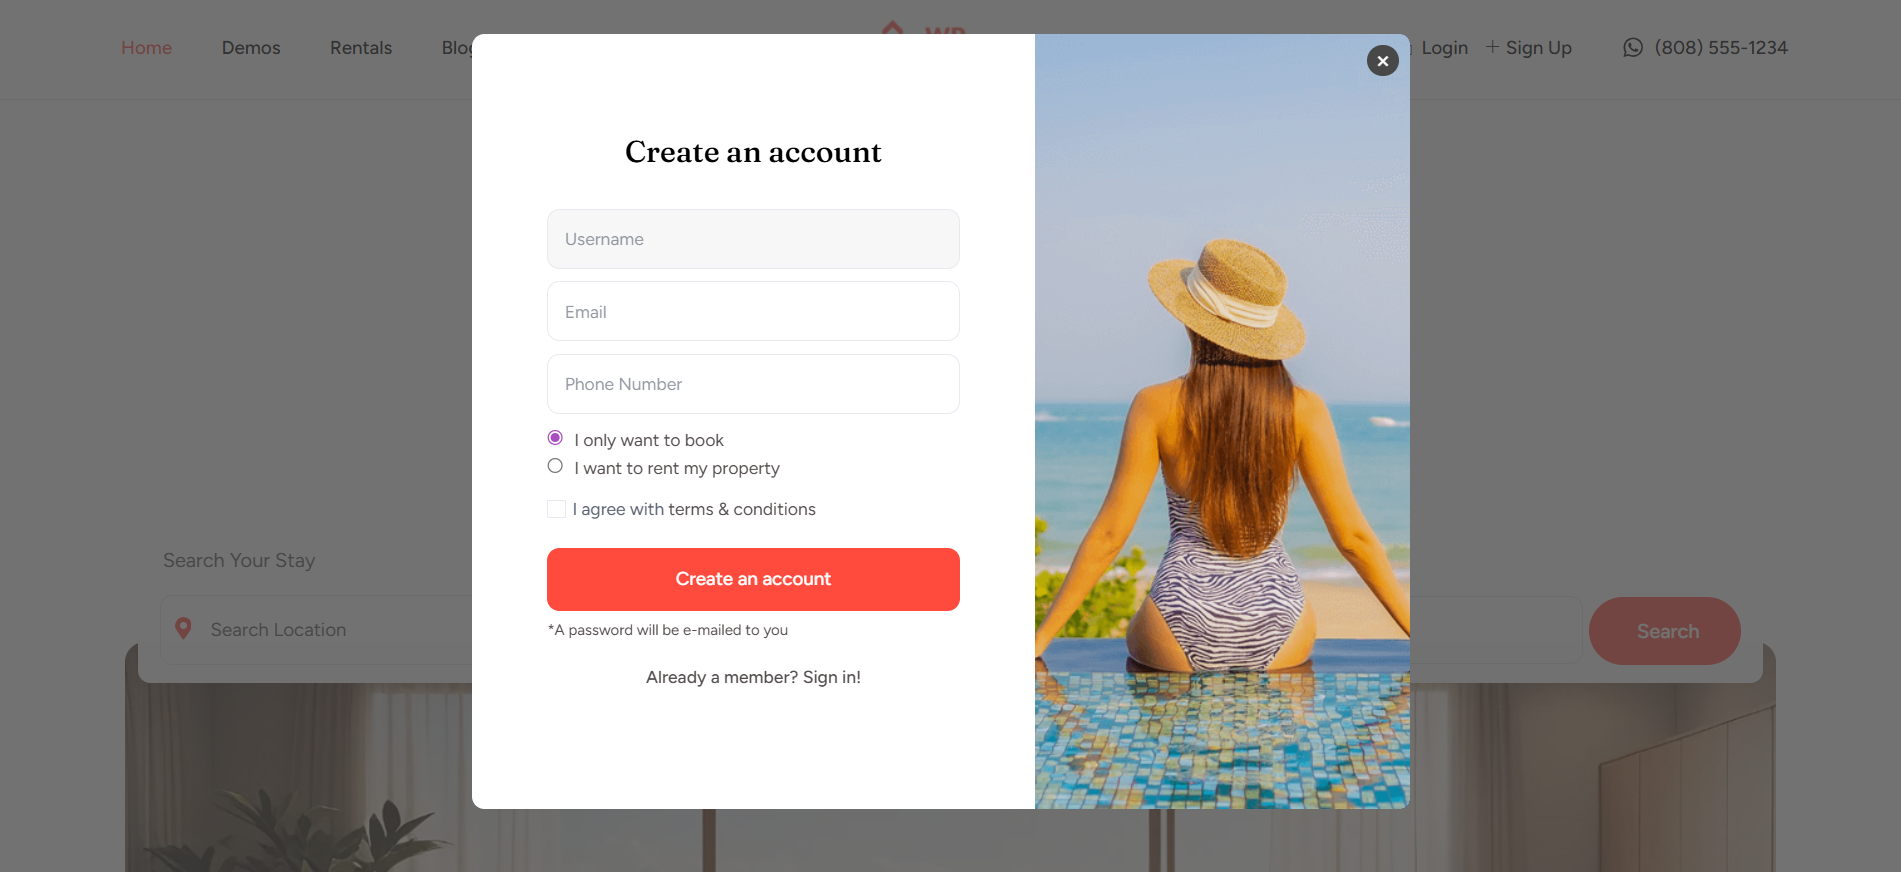
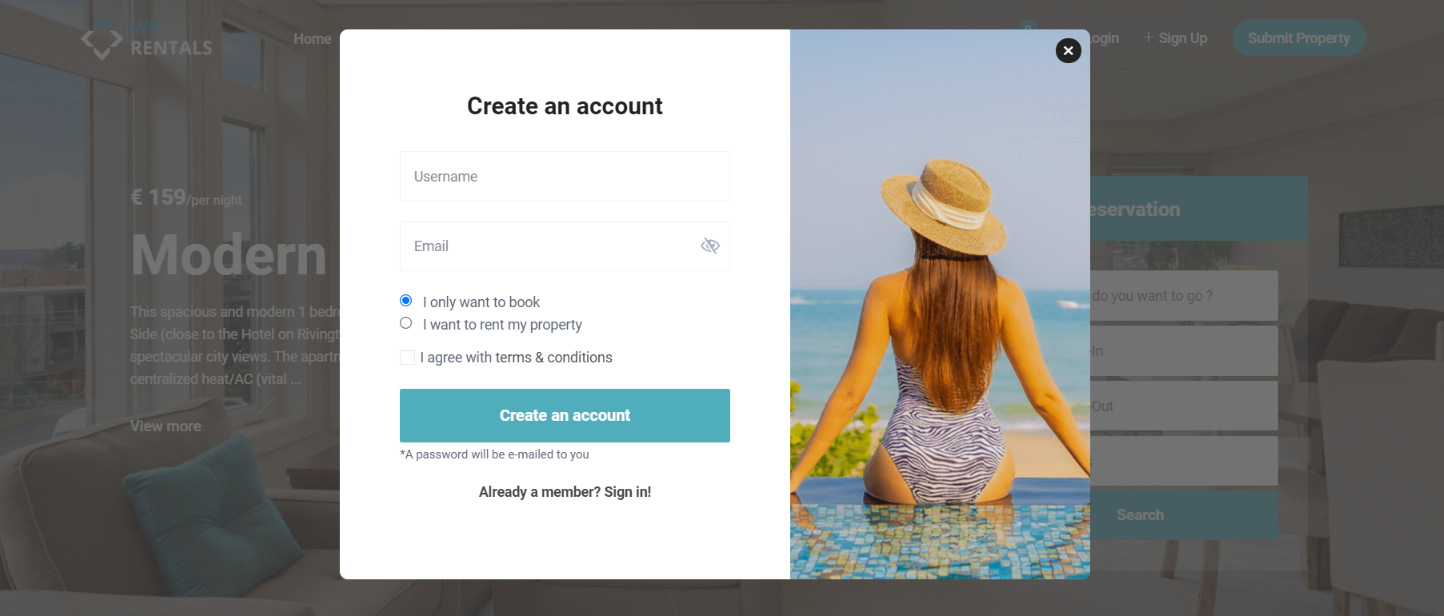
When renter/owner separation is enabled, users choose their account type during registration.
- I only want to book – creates a renter account with limited dashboard access.
- I want to rent my property – creates an owner account with property submission access.
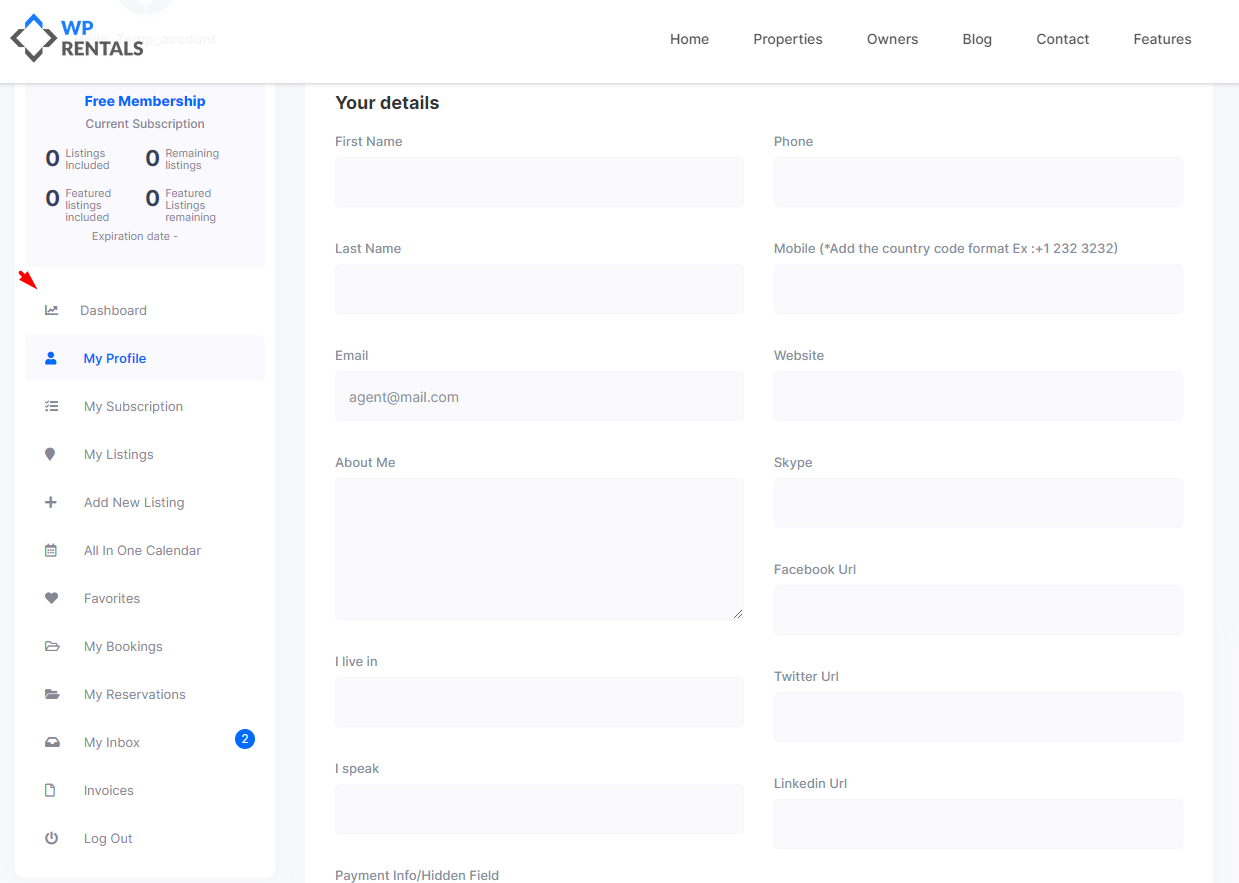
Users who select I only want to book will see only booking-related dashboard pages.
Users who select I want to rent my property will have access to owner dashboard pages, including property submission.
Option 2: Disable Renter / Owner Separation
If renter/owner separation is disabled, all users register as owners by default.
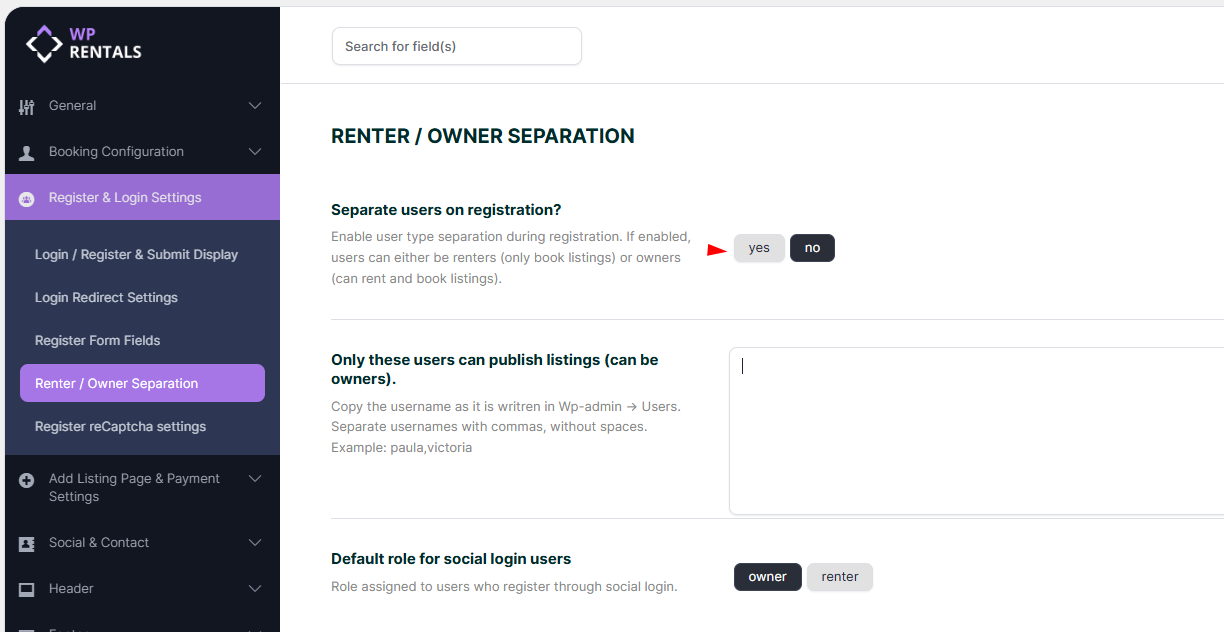
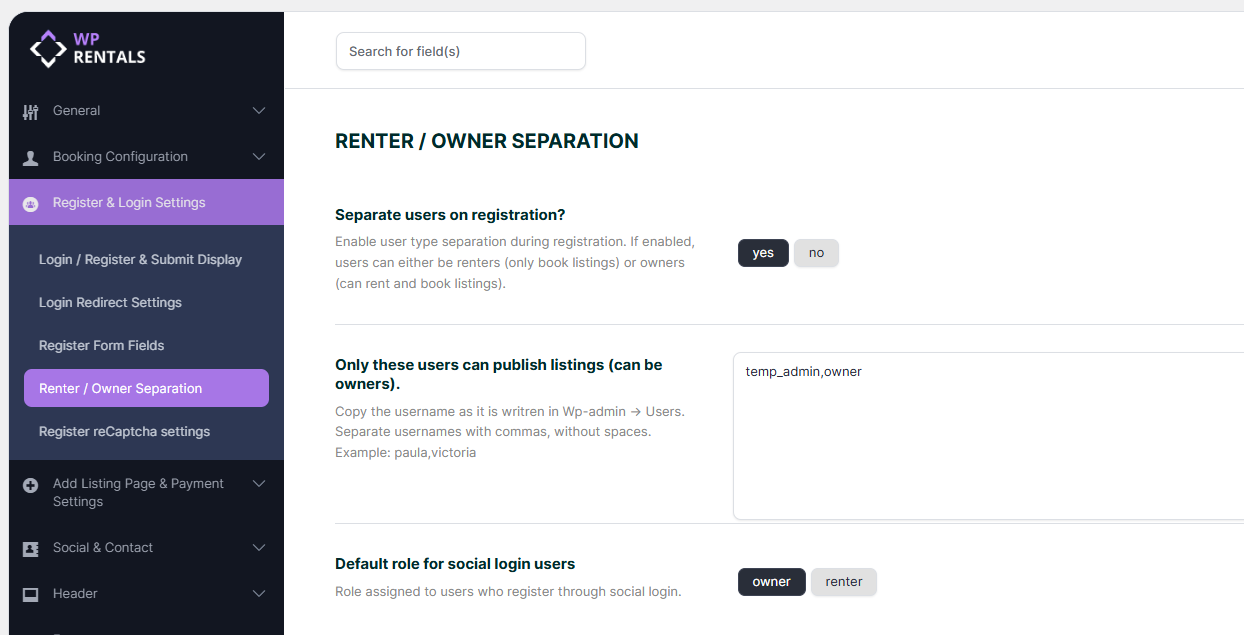
Option 3: Allow Only Selected Users to Submit Properties
If renter/owner separation is disabled, the admin can still limit who can publish listings from the front end.
Add the allowed usernames in the option:
Only these users can publish listings
Only those users can submit properties from the front end. If the admin also needs front-end owner access, add the admin username too.
Use WPRentals for a single property or single owner
Booking Without Login First
User login can be bypassed only when bookings use Instant Booking together with WooCommerce.
With this setup, a guest can start the booking from the property page and continue through WooCommerce checkout. WooCommerce can create the user account during checkout.
If you want users created during WooCommerce checkout to have only booking-related dashboard access, use this setup:
- Set Separate users on registration to No.
- Add the owner usernames in Theme Options.
- Only those selected users will be able to submit properties from the front end.
- Users created through WooCommerce checkout will be used mainly for booking/reservation access.
Booking without login first does not apply to the standard WPRentals booking flow. It applies only when Instant Booking and WooCommerce checkout are used.
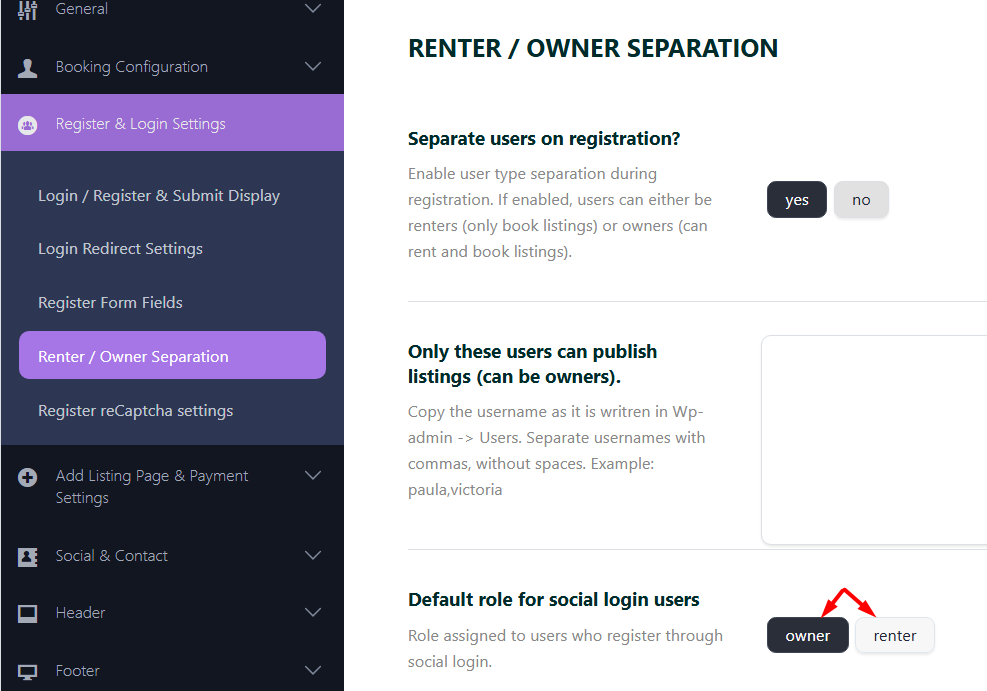
Social Login
If social login is enabled and connected, the selected role is assigned to users who register through social login.
See also:
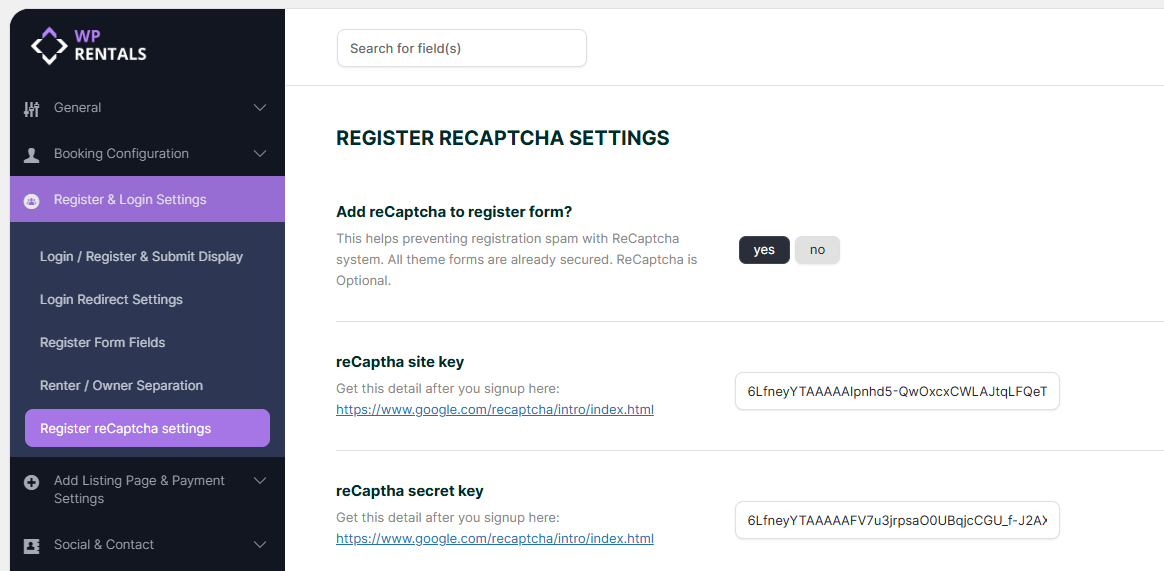
reCaptcha for the Register Form
You can enable or disable reCaptcha from:
Theme Options > reCaptcha Settings
Terms and Conditions
Users must agree to the Terms and Conditions before registering.
The Terms and Conditions page must be created and published from wp-admin > Pages.
The Terms and Conditions checkbox is always included in the register box.
Help article about the Terms and Conditions page

Summary
- Enable user registration from Settings > General.
- The login/register form can display as a modal, shortcode, or sidebar widget.
- The header login link can be hidden, but booking actions can still require login.
- The Submit Property button can be shown or hidden from the header.
- Register form fields are managed from Theme Options > Register and Login Settings.
- Renter/owner separation controls whether users register as booking-only users or owners.
- The selected owner usernames option can limit which users are allowed to submit properties.
- WooCommerce with Instant Booking can allow users to start booking without logging in first.
- Terms and Conditions are always required in the register form.