Before Updating
Before updating WPRentals, prepare the website carefully to prevent loss of files, custom code, translations, or settings.
We recommend doing the update first on a staging copy of the website. After you confirm everything works correctly, you can repeat the same steps on the live website.
Important Checklist Before Update
- Check the latest update notes and changelog. WPRentals Change Log
- Make a full backup of the website files and database.
- If you made direct code changes in the parent theme, save a copy before updating.
- If you use a child theme, check if any child theme template overrides need to be updated after the theme update.
- If you have custom translation files, make sure they are saved in the child theme or backed up before updating plugins.
- Temporarily disable cache and optimization plugins if they can interfere with the update process.
- After the update, clear all cache layers: theme cache, plugin cache, server cache, CDN cache, and browser cache.
Updating the parent theme will overwrite the files inside the wprentals theme folder. If you edited parent theme files directly, those changes can be lost. Custom code should be added in a child theme. How to activate the child theme
Download the Latest Theme
Download the latest WPRentals theme package from the ThemeForest account used to purchase the theme.
Go to your ThemeForest buyer account and open Downloads.
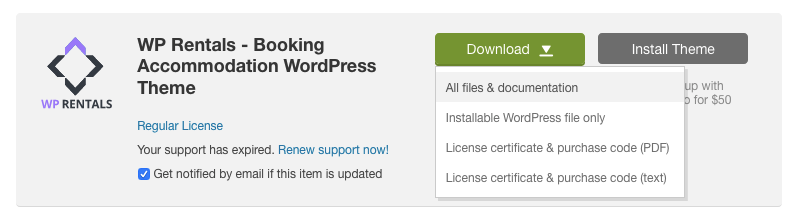
For a theme update, download Installable WordPress file only.
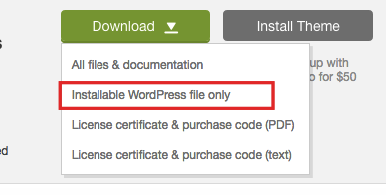
This file contains the installable theme zip, usually named wprentals.zip.
Update With the Envato Market Plugin
You can update the theme automatically with the Envato Market plugin.
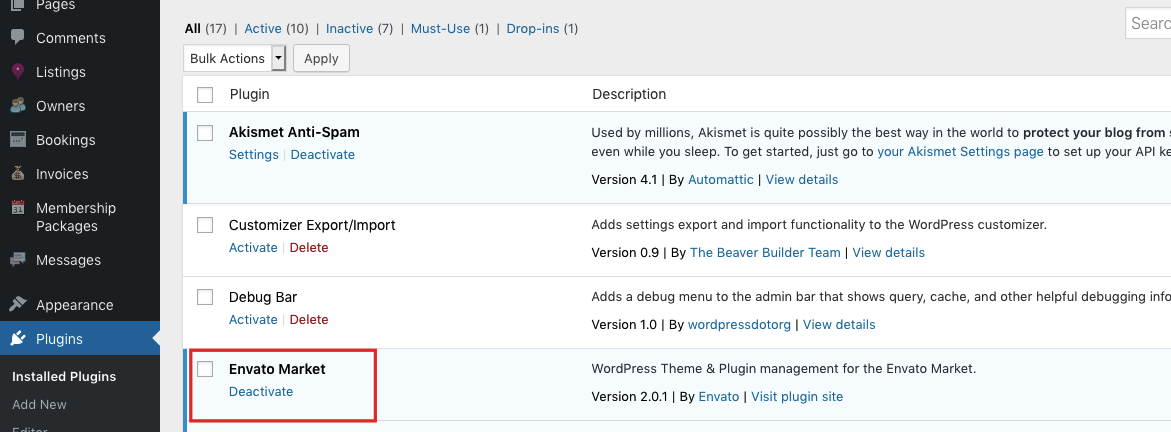
Step 1: Install the Envato Market Plugin
Install the Envato Market plugin from Envato or from the theme install plugin notice, if available.
https://envato.com/market-plugin/
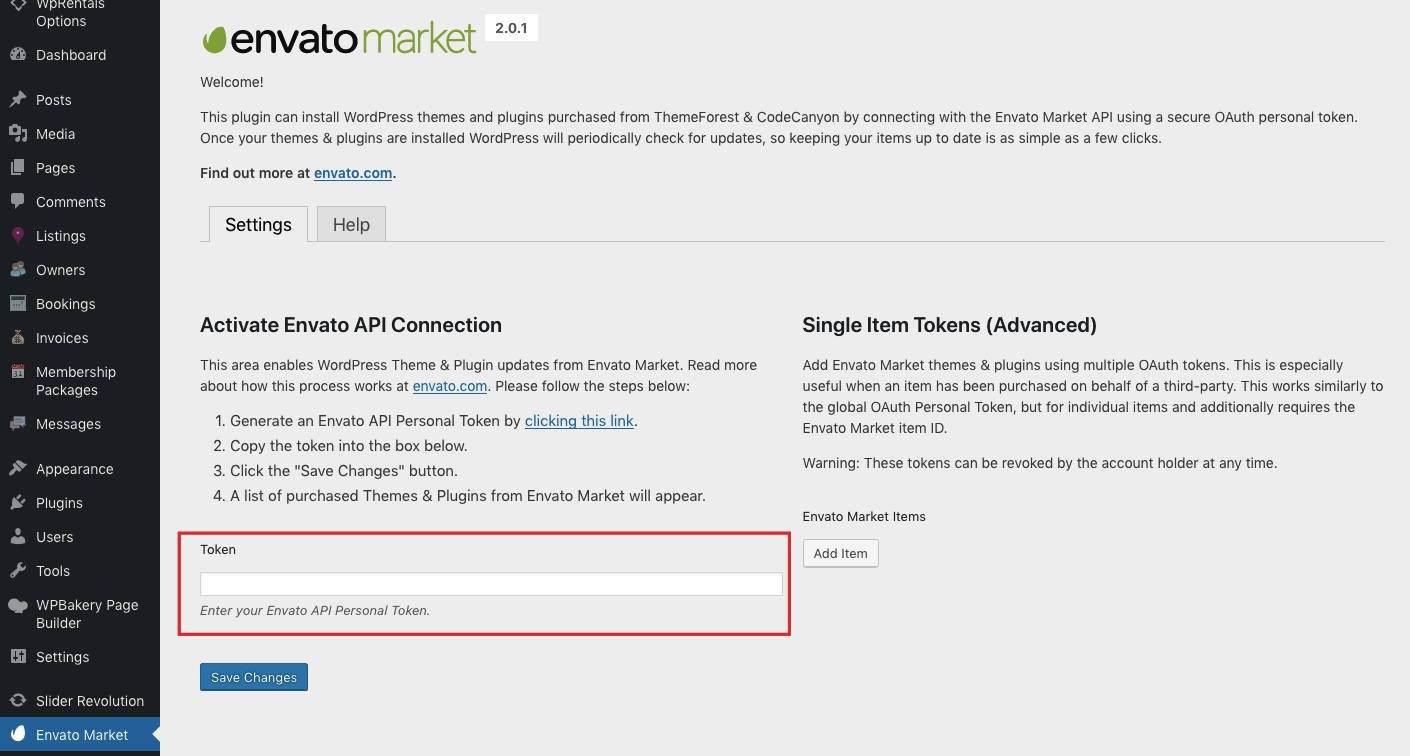
Step 2: Connect the Envato Market Plugin
Go to Envato Market settings and connect the plugin with your Envato API token.
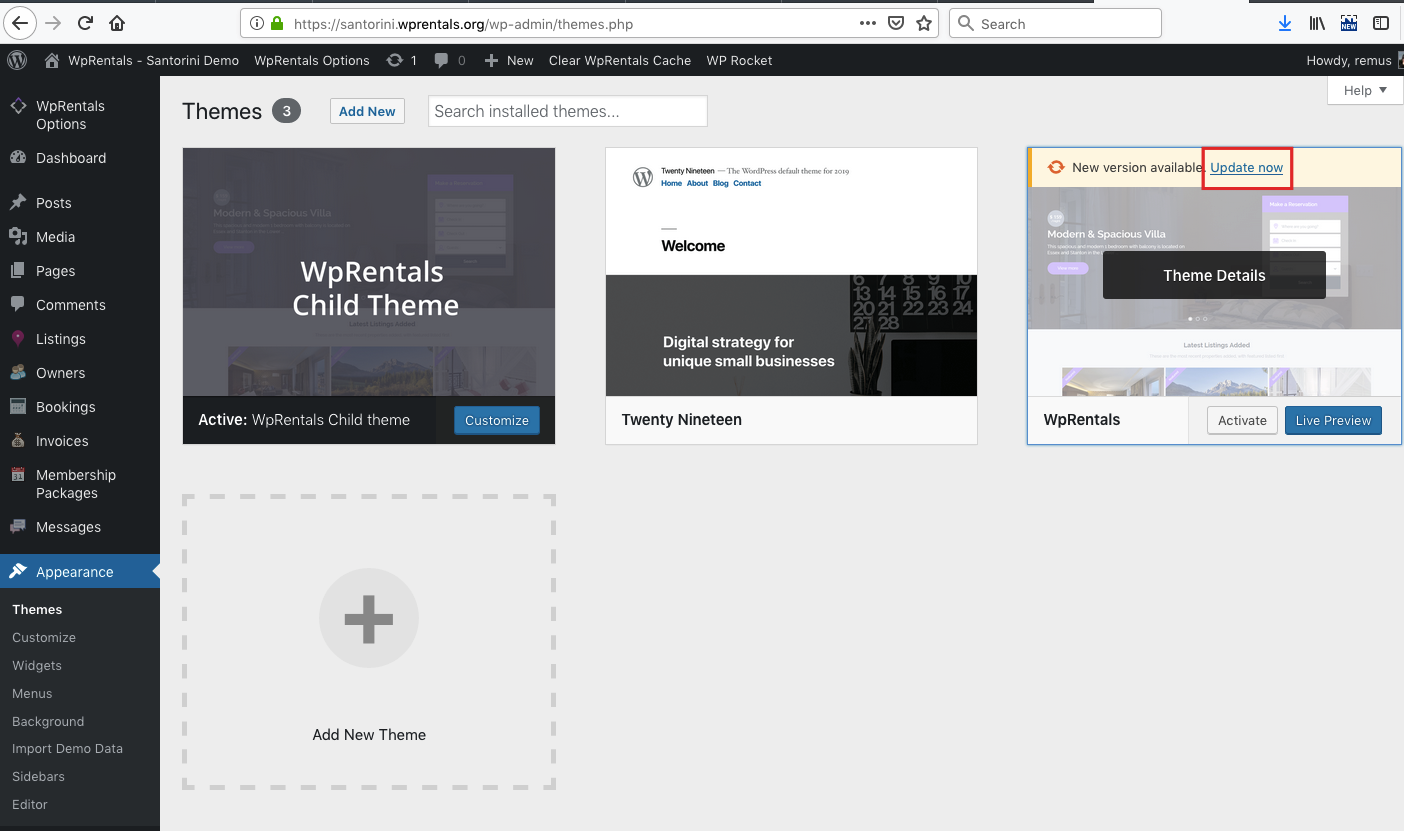
Step 3: Update the Theme
Run the theme update from the Envato Market plugin.
This process overwrites the existing parent theme files. Make sure you have a backup before updating.
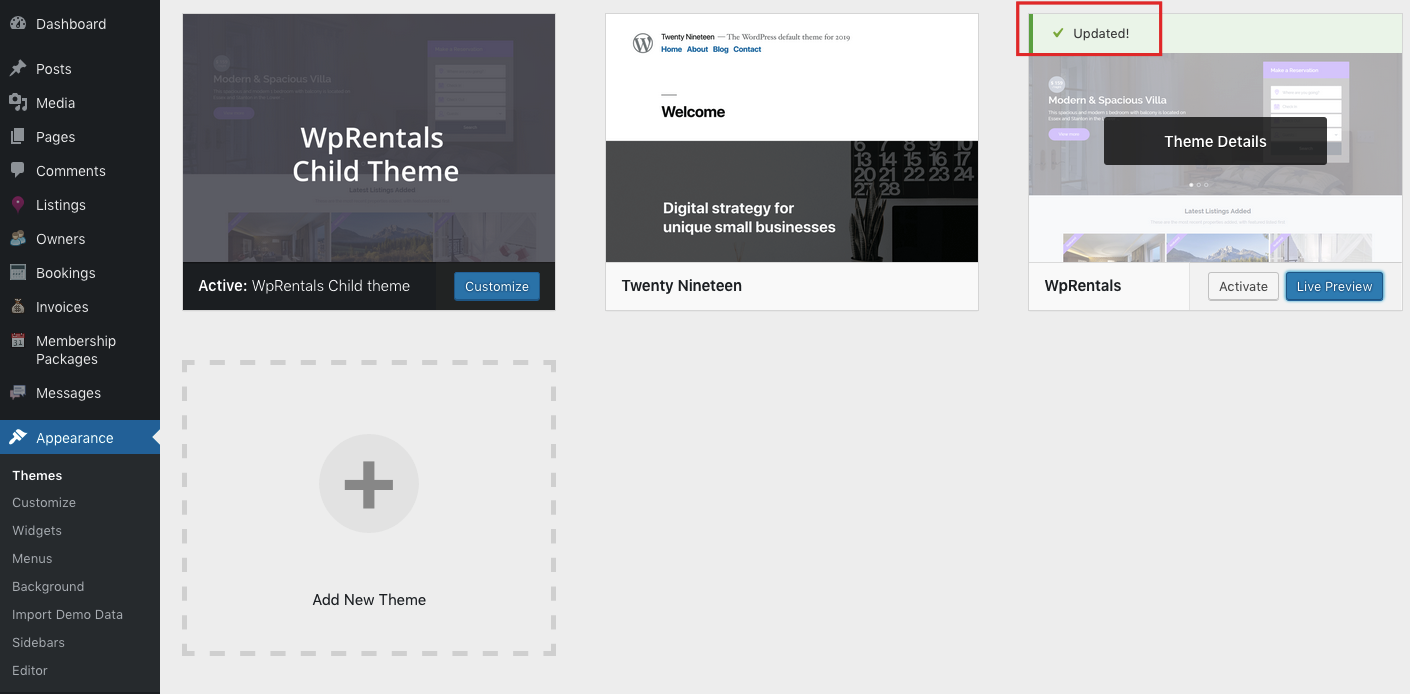
Step 4: Update the Included Plugins
After the theme update, reload the page and update the included WPRentals plugins.
The WPRentals Core Functionality plugin must be updated together with the theme.
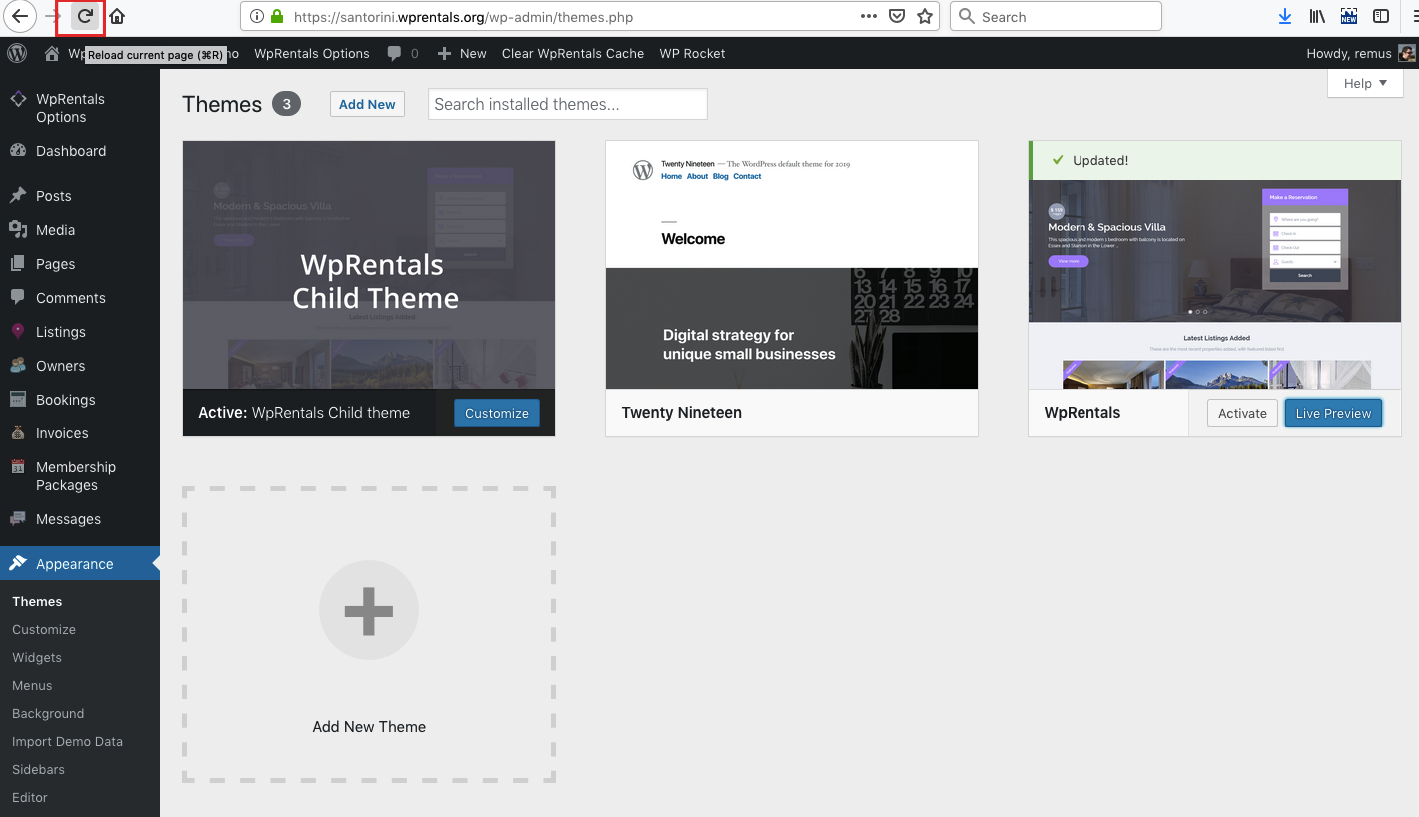
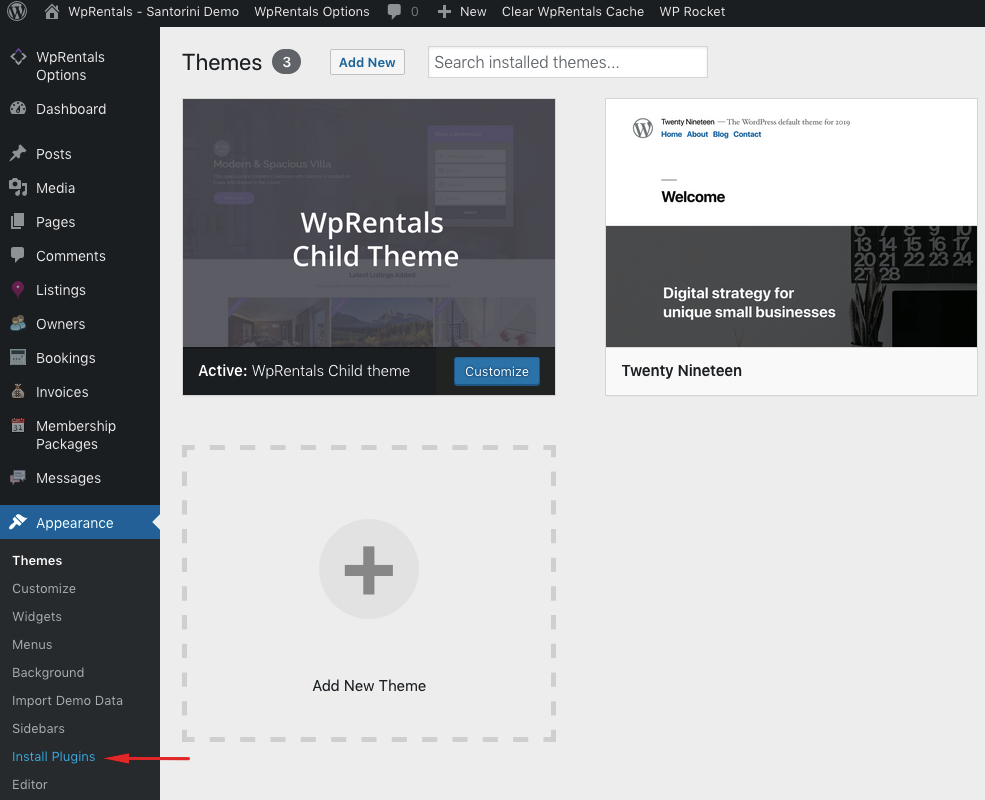
Go to Appearance > Install Plugins.
Update all required WPRentals plugins listed there.

Update via WordPress Admin
You can update the theme from WordPress admin by deleting the old theme and uploading the new theme zip.
This method keeps your website content and theme options in the database, but it deletes files from the parent theme folder. Any direct code changes made inside the parent theme folder will be lost.
- Access your website via FTP or hosting file manager and back up the current wprentals theme folder.
- Go to Appearance > Themes.
- Activate a different temporary theme, such as a default WordPress theme.
- Delete the old WPRentals theme.
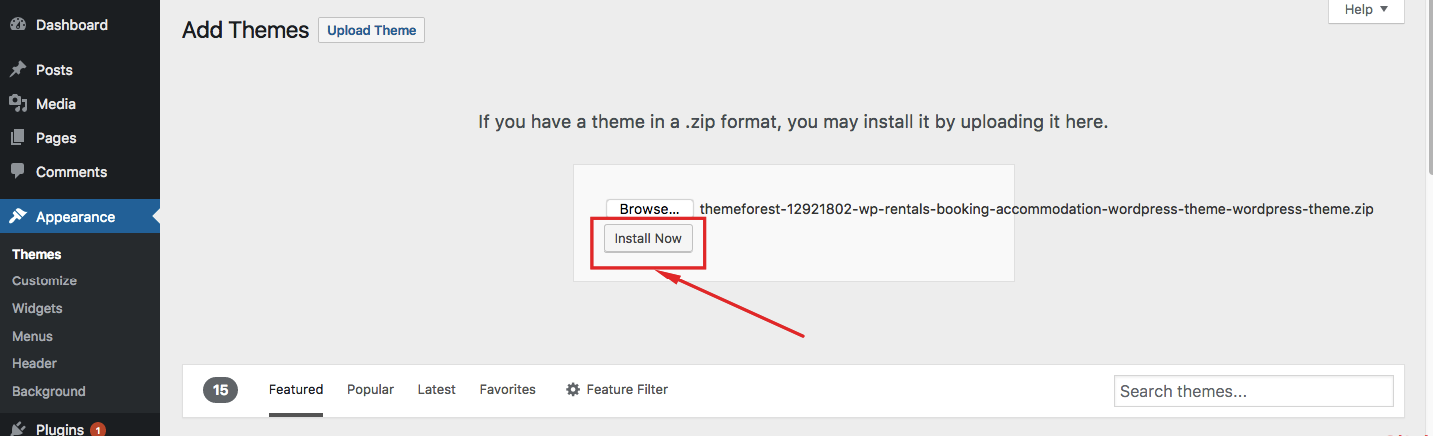
- Go to Appearance > Themes > Add New > Upload Theme.
- Upload the new wprentals.zip file.
- Click Install Now.
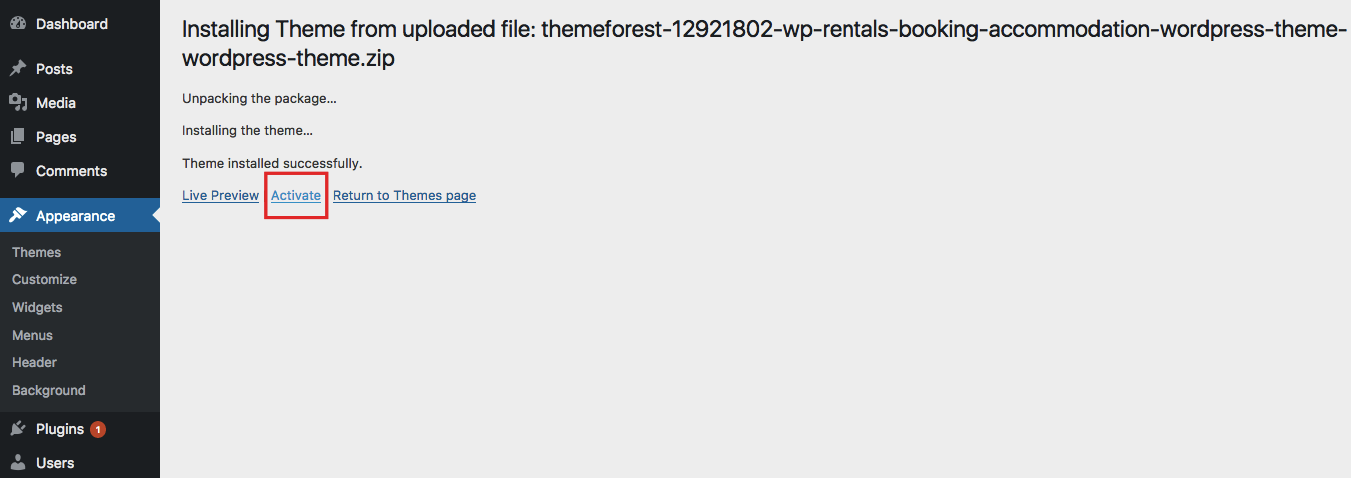
- Activate WPRentals after the upload is complete.
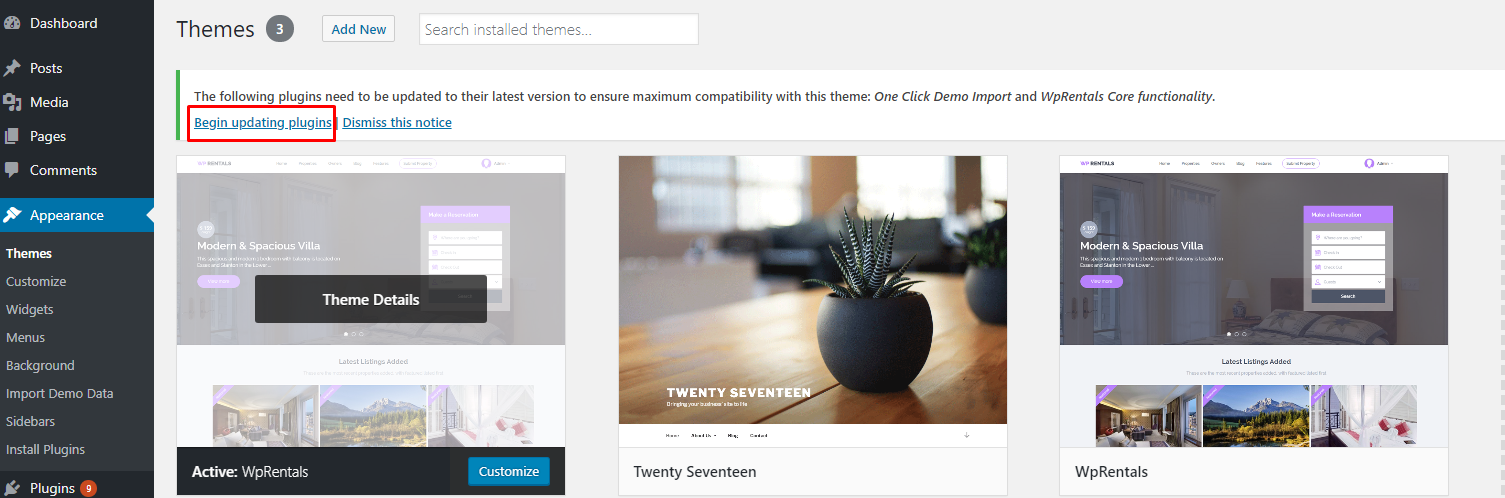
- Update all included plugins from Appearance > Install Plugins.
If you downloaded All files and documentation from ThemeForest, unzip that package first. The installable wprentals.zip file will be inside the downloaded package.
Update Included Plugins
After every theme update, update the included WPRentals plugins as well.
To update included plugins, go to Appearance > Install Plugins.
Update all plugins that show an available update.
Update Included Plugins Only
If you need to update only the included plugins without running a theme update, you can download the full ThemeForest package and take the plugin zip files from the package.
Step 1: Download All Files and Documentation
Go to your ThemeForest buyer account and download All files and documentation.
Step 2: Unzip the Downloaded Package
After downloading the package, unzip it on your computer.
Step 3: Open the Plugins Folder
Inside the extracted package, open the plugins folder and locate the plugin zip files.
Step 4: Delete the Old Plugin Version
In WordPress admin, go to Plugins.
Deactivate and delete the old version of the plugin you want to update.
Step 5: Upload the New Plugin Version
Go to Plugins > Add New > Upload Plugin.
Upload the new plugin zip file and activate it.
If you delete a WPRentals included plugin from the Plugins screen and upload the new plugin zip, your website content and theme options are not deleted. Plugin settings stored in the database remain available unless a plugin specifically removes them on uninstall.
After Updating
After updating the theme and plugins, check the website carefully.
- Confirm the theme is active.
- Confirm the required plugins are active and updated.
- Clear WPRentals theme cache.
- Clear website cache, server cache, CDN cache, and browser cache.
- Check the homepage.
- Check one property page.
- Check search results.
- Check login and register forms.
- Check booking and payment flow, if used.
- Check mobile layout.
Need Help?
If you need the latest plugin package or help with an update issue, open a ticket in our private support platform.