
The demo content provided with WPRentals is for demonstration purposes only. It is intended to showcase the layout and functionality of the theme. Images, videos, icons, and other media included in the demo content are placeholders and may be subject to copyright. These assets are not licensed for use on live websites. You are responsible for replacing all demo media with properly licensed content.
Before importing demo content, make sure your hosting environment meets the minimum requirements to run WordPress and the WPRentals theme. Server and theme requirements
What to Do Before Demo Import
Demo import is a server-intensive process. Before starting, check the following:
- WordPress is installed correctly.
- The WPRentals theme is installed and active.
- The required WPRentals plugins are installed and active.
- The theme license is registered.
- Server/PHP limits meet the recommended values.
- Cache and optimization plugins are disabled during demo import.
- The website is a fresh installation, if possible.
Importing multiple demos or importing the same demo more than once can create duplicate content, including pages, menus, widgets, and theme options. For best results, import one demo on a clean WordPress installation.
Important Notes About Demo Content
- Demo imports include a limited number of images to keep the import fast and stable on most hosting environments.
- Demo images are placeholders only and must be replaced with your own licensed images before using the website live.
- Some icons may appear missing after import if SVG uploads were not enabled before the import.
- Revolution Sliders are imported separately from the demo_content/revolution_sliders folder.
For free stock images or videos, you can use sources such as:
Allow SVG Uploads Before Demo Import
WordPress blocks SVG uploads by default for security reasons.
WPRentals demo content uses SVG icons for Features and Amenities. To ensure these icons are imported correctly, SVG support must be enabled before importing the demo.
Install and activate the SVG Support plugin: SVG Support plugin
This plugin is included in the recommended plugins list for WPRentals.
Activate the Theme License
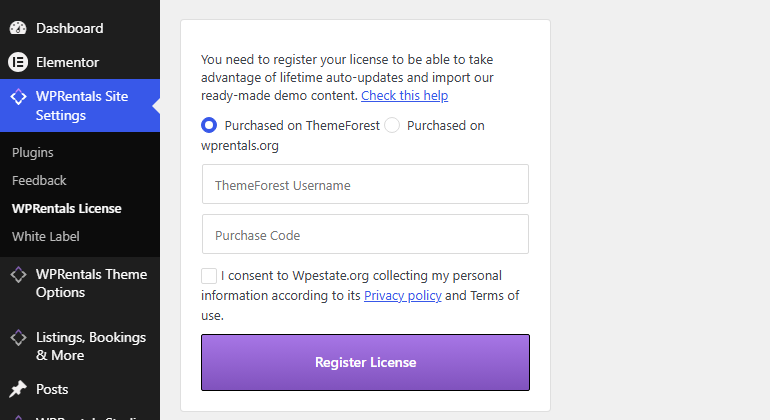
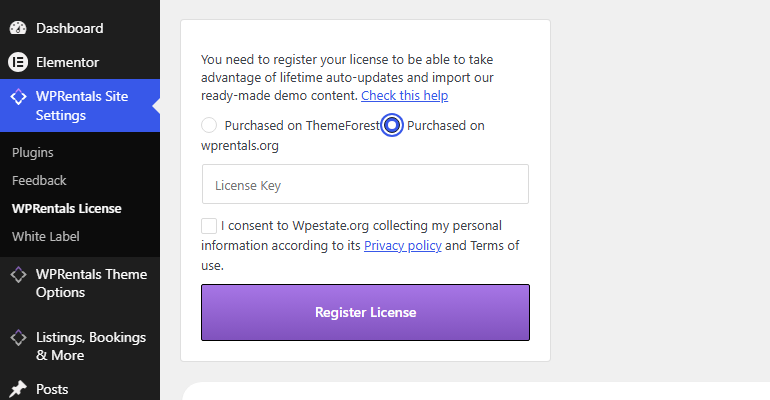
Before importing demo content, make sure the WPRentals license is activated.
Demo import requires a valid and active license.
The import itself works the same however you bought WPRentals — only the code you activate with is different. Bought on ThemeForest: your ThemeForest username and Purchase Code. Bought on wprentals.org: your License Key, with no username. Both are covered step by step in this guide: Where is my purchase code
Verify Site URL and SSL Settings
If your website will use HTTPS, make sure SSL is already active before importing the demo.
Go to Settings > General and check both fields:
- WordPress Address (URL)
- Site Address (URL)
Both URLs should use the final website address.
Example:
https://yourdomain.comDo not change the WordPress URLs to HTTPS unless SSL is already active on the domain. If SSL is not configured correctly, you may lose access to wp-admin.

Import Demo Content
Step 1: Go to Import Demo Data in your WordPress admin panel.

Step 2: Select the demo you want to import.
Click Continue, then click Import.


During the import process, you will see progress messages.
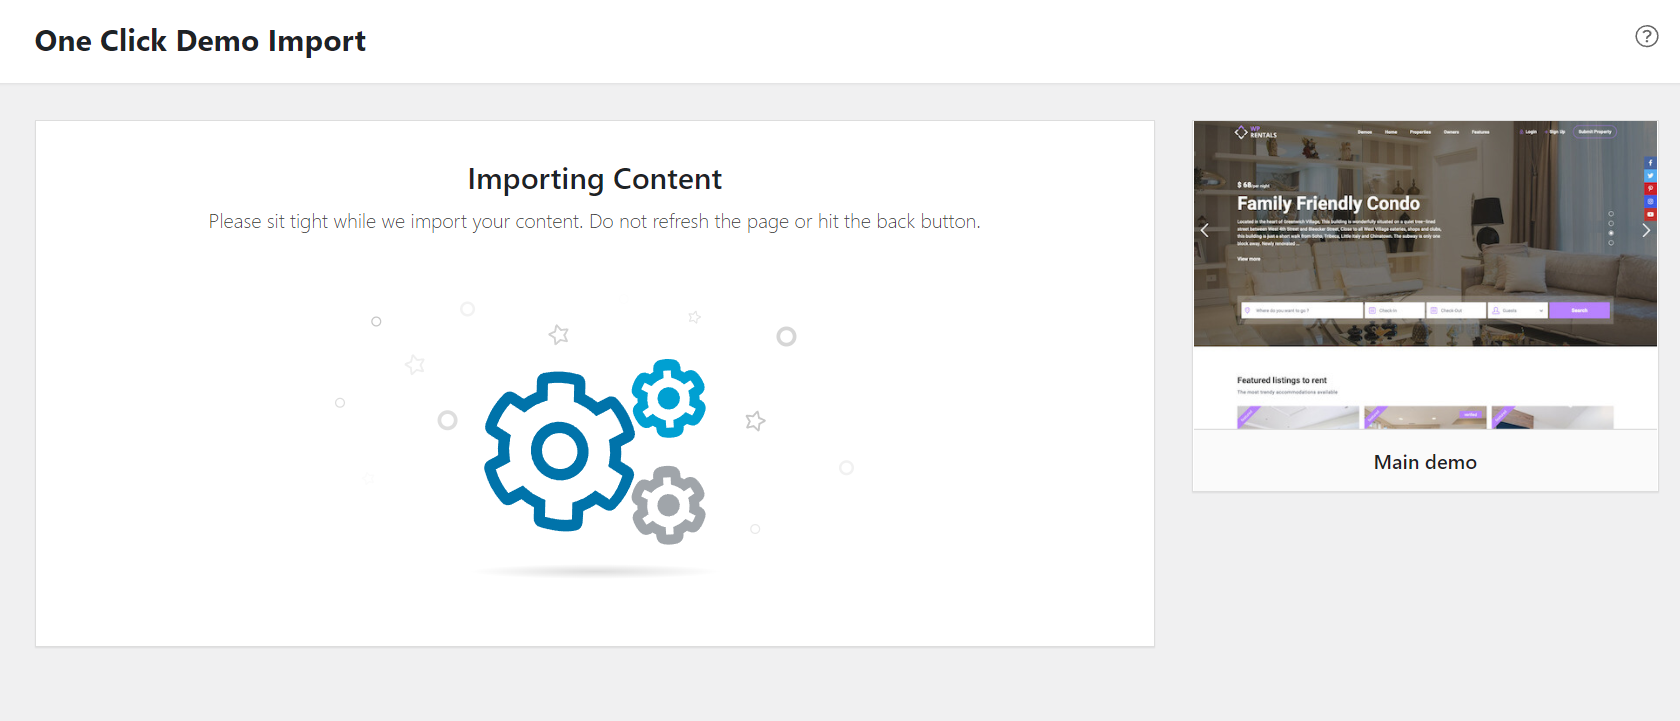
When the import completes successfully, you will see the completion message.
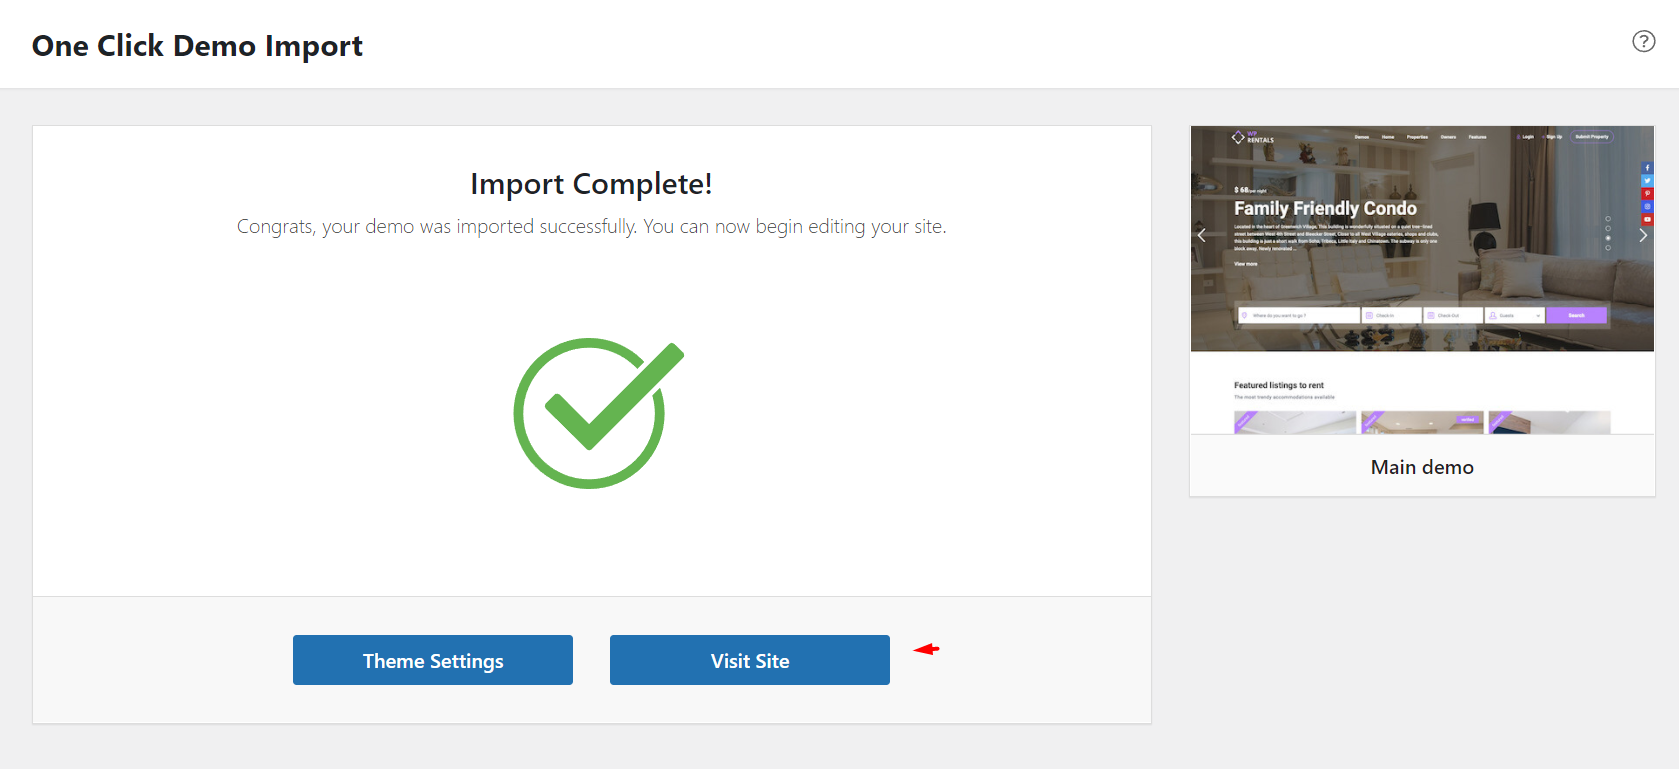
If the import does not finish within a few minutes, your server limits may be too low, or a cache/security rule may be blocking the process.
What to Do After Demo Import
After the demo import is complete:
- Check the homepage and main pages.
- Go to Appearance > Menus and confirm the menu location.
- Go to Settings > Reading and confirm the homepage if needed.
- Replace demo images and demo text with your own content.
- Import Revolution Sliders separately if the demo uses them.
- Clear browser cache, website cache, server cache, and CDN cache if used.
After the demo import is complete and verified, you can safely delete the demo import plugin if you no longer need it.
If Demo Content Import Fails
Demo import is a server-intensive process.
When the import fails, gets stuck, or does not complete, the cause is usually related to hosting limits, server restrictions, cache, or security rules.
Most Common Causes
- Low PHP memory limit
- Low PHP execution time
- Low upload or post size limits
- Server-side request blocking, such as 403, 500, or 503 errors
- Security rules blocking admin AJAX requests
- Cache or optimization plugins active during import
- LiteSpeed Cache enabled during import
- Browser cache or CDN cache serving old files
Recommended Minimum PHP Limits
- max_execution_time: 600
- max_input_time: 600
- memory_limit: 256M minimum, 512M recommended for larger imports
- post_max_size: 64M or higher
- upload_max_filesize: 64M or higher
- max_input_vars: 3000 minimum
These values are server/PHP settings. If the hosting account has hard limits, changing values from WordPress, wp-config.php, or .htaccess may not work.
You can check your current PHP limits here:
Important: LiteSpeed Cache Hosting
If your hosting provider uses LiteSpeed, the LiteSpeed Cache plugin may be installed automatically.
When LiteSpeed Cache is active during demo import, it can:
- block admin requests
- cause 403 Forbidden errors
- serve cached admin responses
- create incomplete or broken demo imports
Before importing demo content:
- Go to LiteSpeed Cache > Settings.
- Disable all cache and optimization options.
- Save changes after each tab.
- Purge all caches.
If demo import already failed:
- Disable LiteSpeed Cache completely.
- Purge all caches.
- Clear browser cache or use an incognito window.
- Retry the demo import.
Full instructions are available here:
How to disable LiteSpeed Cache correctly
For development and demo import, we strongly recommend disabling LiteSpeed Cache entirely. It can be re-enabled after the demo is fully imported and verified.
If the Import Still Fails
If the import still fails after checking server limits and disabling cache, open a support ticket and include:
- site URL
- temporary wp-admin access
- the demo name you tried to import
- a screenshot of the import error or stuck screen
- confirmation that cache and optimization plugins were disabled during import