WPRentals allows you to create custom fields for listings. These fields can be used to collect and display extra listing details that are not included in the default theme fields.
Custom fields can appear in the front-end listing submission form and, when completed, they can be displayed on the listing page under the Listing Details section.
Add a custom field
To add a new custom field, go to:
Theme Options > General > Listing Custom Fields
From this section, you can add, edit, or delete listing custom fields.

Supported custom field types
WPRentals supports the following custom field types:
- Dropdown
- Text field
- Number field
- Date field

Custom field settings
For each custom field, you can set:
- Field Name – the internal field name used by the theme.
- Field Label – the label shown to users on the front end.
- Field Order – the display order of the field.
- Field Type – dropdown, text, number, or date.
Show custom fields in the submit form
After creating a custom field, select it in the submit form settings if you want users to complete it when adding or editing listings.
Go to:
Theme Options > Add Listing Page & Payment Settings > Listing Submission Form
Find:
Select the Fields for listing submission
Select the fields you want to show in the front-end submission form.

How custom fields appear in the front-end dashboard
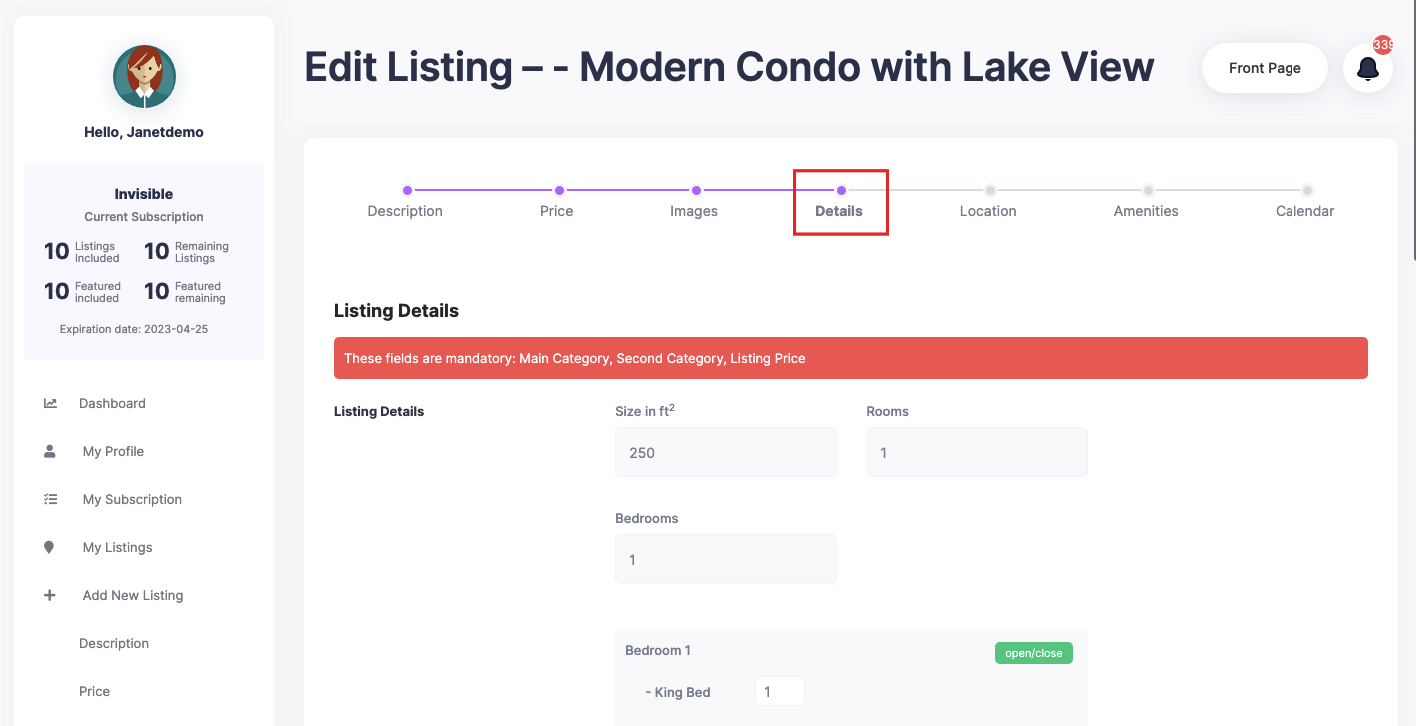
When users add or edit a listing, the selected custom fields appear in the listing submission form after the default fields.
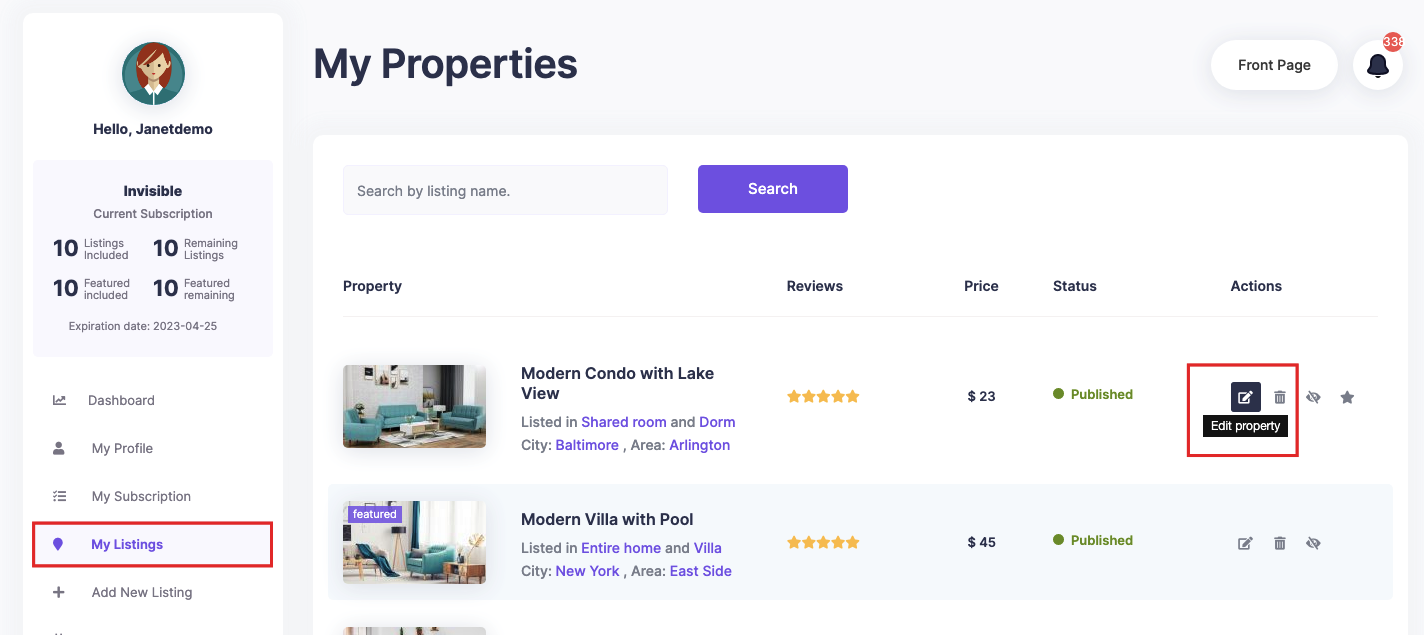
To edit a listing from the front end, go to:
User Dashboard > My Listings > Edit Listing > Details

How custom fields appear on the listing page
On the listing page, completed custom fields are displayed under the Listing Details section, after the default theme fields.

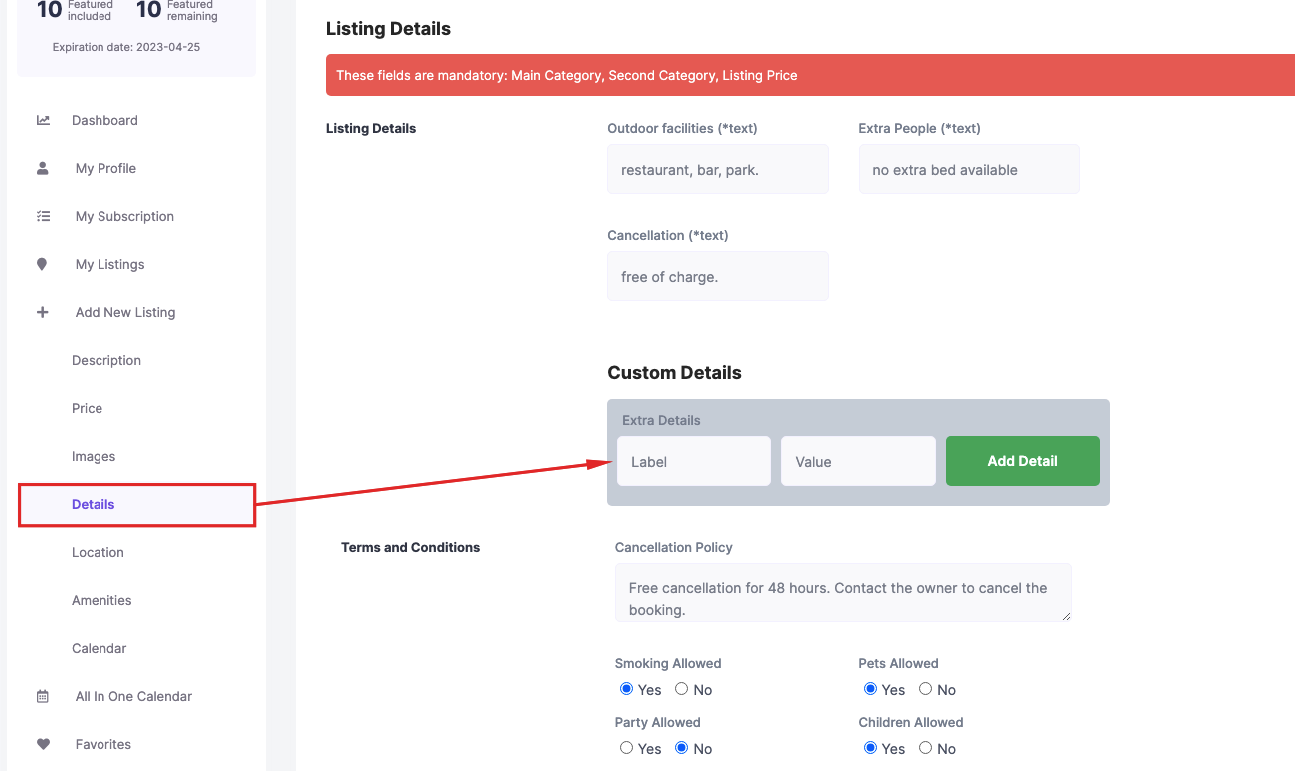
Add Custom Details for one listing
Besides the global custom fields created in Theme Options, you can also add Custom Details for an individual listing.
These are added from the same Details section when editing the listing.
Custom Details are useful when you need extra information for one specific listing only.
On the listing page, Custom Details appear after the custom fields created in Theme Options.
Remove Custom Details from the submission form
If you do not want users to add individual Custom Details in the front-end submission form, you can hide this area with custom CSS.
This does not remove the global custom fields created in Theme Options > General > Listing Custom Fields. It only hides the per-listing Custom Details area from the submission/edit listing form.
Add this CSS in:
Appearance > Customize > Additional CSS
#extra_details_list {
    display: none;
}

.add_custom_detail {
    display: none;
}
After adding the CSS, clear all cache and test the front-end Add Listing/Edit Listing form again.
Important notes
- Create global listing custom fields from Theme Options > General > Listing Custom Fields.
- Select the custom fields in Listing Submission Form if you want them to show in the front-end submit form.
- Custom fields appear after the default fields in the listing edit form.
- Completed custom fields appear under Listing Details on the listing page.
- Custom Details are added per listing and are not the same as global custom fields.
- Custom Details can be hidden from the front-end submission form with custom CSS.
- Use simple field names without spaces, especially for dropdown fields.