To configure your site logos and favicon, navigate to:
Theme Options → General → Logos & Favicon
This panel allows you to upload different logo versions for desktop, transparent headers, mobile, and retina devices.
![]()
Favicon
- What it is: The small icon shown in the browser tab.
- Formats supported: .ico, .png, .jpg, or .gif
- How to upload: Use the Upload button and insert the image using Insert into Post.
Standard Logo
Displays in the site’s main header.

Transparent Header Logo
Used when the header has a transparent background
![]()
Mobile/Tablet Logo
Logo version for smaller screens.

Retina logo
Higher-resolution logos for retina and high-DPI displays. Applies to Standard, Transparent, and Mobile logos.
The steps to add retina logo are:
- Create the retina logo
- Rename the retina logo
The new logos must be named exactly as the regular logo image, though with _2x, _3x, _4x added at the end of the name.
If the logo uploaded in Theme options is named Logo, then the retina one will be Logo_2x
You need to add the new logo in Media, ideally, it should be added at the same time as the regular Logo added in Theme Options, so both images to be saved in the same Uploads folder.
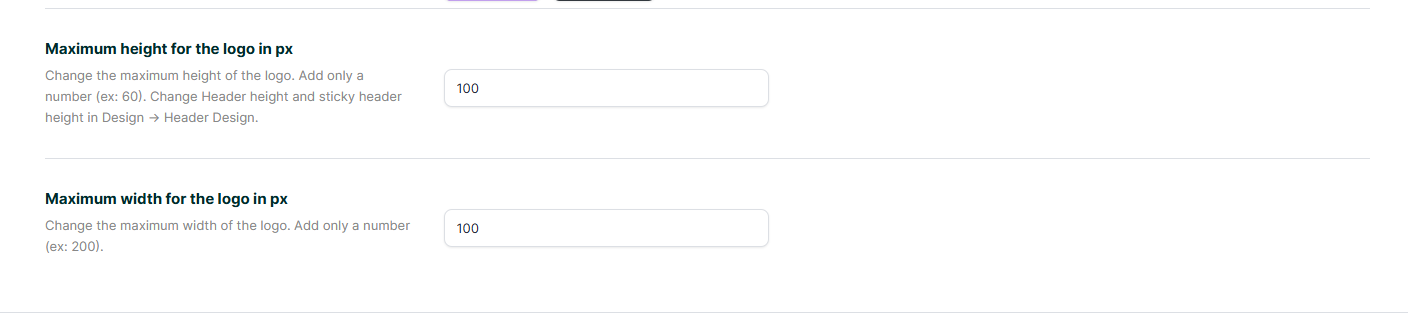
Increase Logo Height
To change the Logo Height, first you need to change the size in “Maximum height” and “Maximum width” options in the Theme Options → General → Logos & Favicon
How to use it:
- Enter only a number, e.g., 60
- Do not include units like px—just type 60
To change logo height with Custom CSS , use this css in custom css (Theme Options – Design – Custom Colors – Custom css) or in child theme style.css – https://help.wprentals.org/article/3029/
.logo img {
max-height: 54px;
}
54px is the default value, you need to change it as per your wish and after add the css in the theme.
This change will affect the sticky menu logo size. If you wish to have different sizes, edit this css in Custom CSS
.customnav .logo img { max-height: 65px!important; }
Increase header height to match logo width and height
To match or increase header space for your larger logo, go to:
Theme Options → Header → Header Settings → adjust Header Height and Sticky Header Height accordingly.

Tip: If you have theme cache enabled, make sure you clear cache to see instant results.