Menu Overview in WpRentals
WpRentals offers flexible menu options and supports:
- one main menu with up to 3 levels of dropdown sub-menus
- a built-in Mega Menu feature for advanced multi-column layouts
- separate menus for the Primary Menu, Footer Menu, and Mobile Menu
This gives you flexibility to create different menu structures for desktop, footer, and mobile navigation.
How to Create a New Menu
- Go to Appearance > Menus in your WordPress dashboard
- Click Create a New Menu and give the menu a name
- Use the panels on the left to add menu items
- Use drag and drop to reorder items or create submenu levels
- Assign the menu to the desired location
- Click Save Menu
You can assign the menu to:
- Primary Menu
- Footer Menu
- Mobile Menu

How to Add Menu Items
You can add different types of items to your menu.
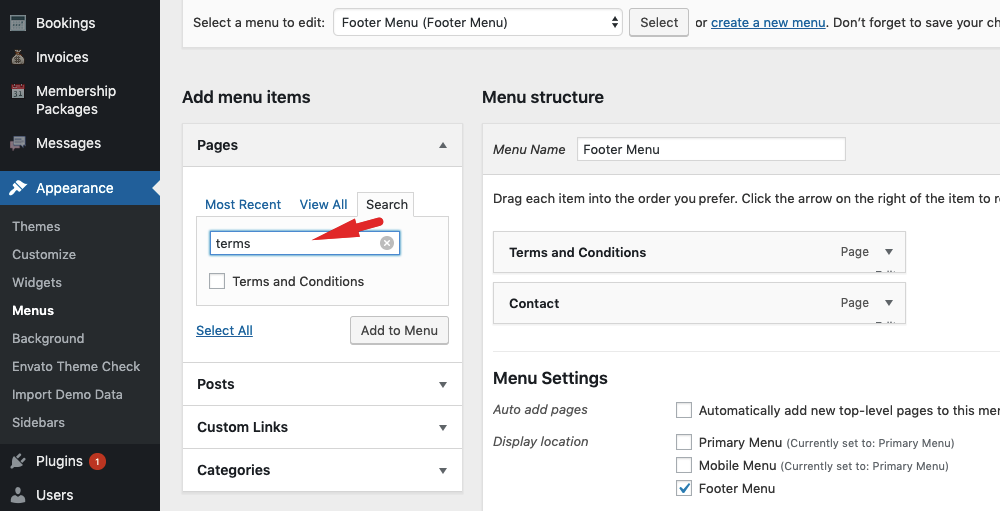
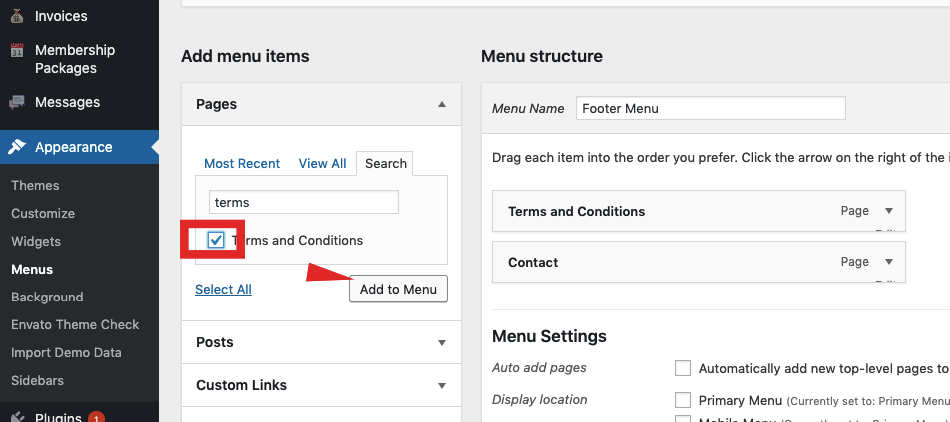
Add a Page
- Find the page you want in the Pages panel
- Select the page and click Add to Menu
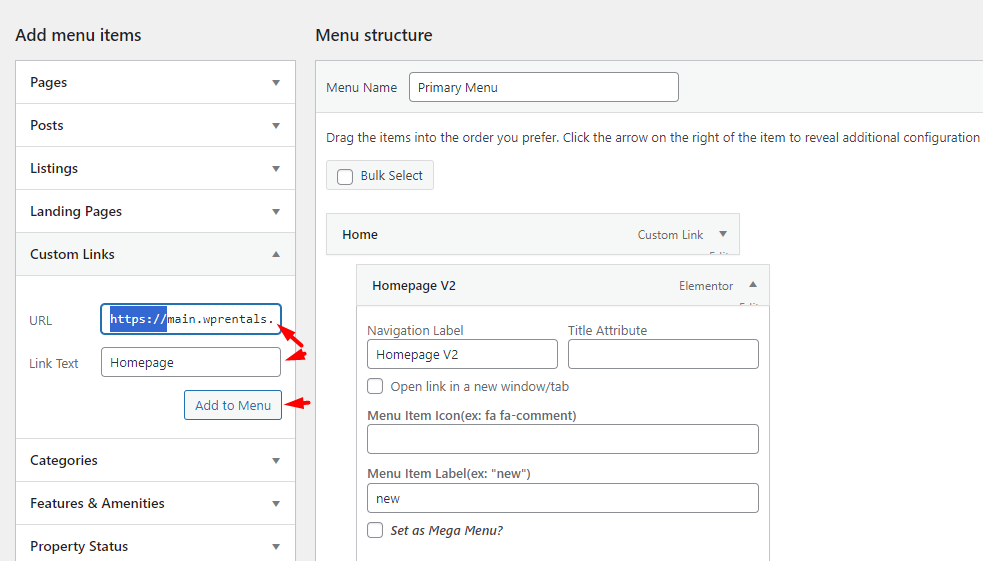
Add a Custom Link
- Open the Custom Links panel
- Enter the URL and the link text
- Click Add to Menu
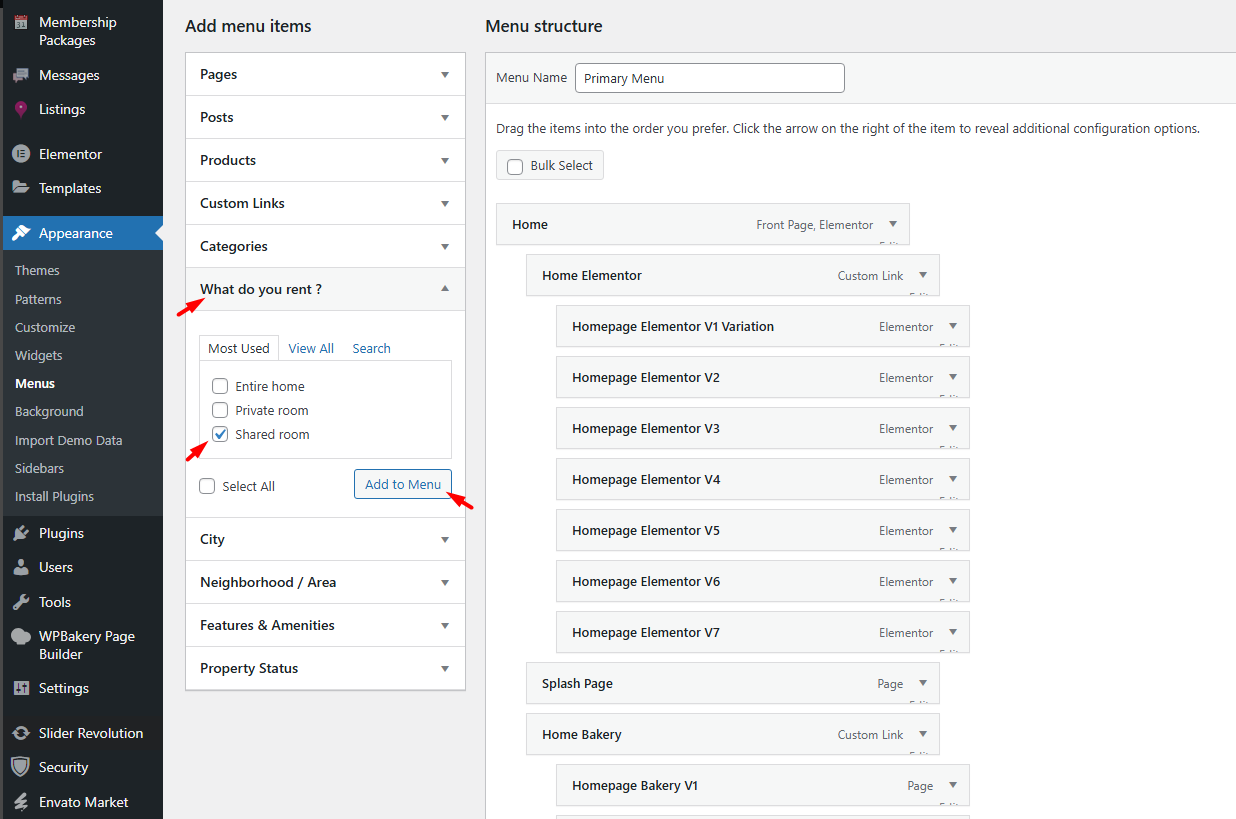
Add Property Taxonomies and Filters
- You can also add menu items for property-related taxonomies such as categories, actions, areas, cities, property status, and features or amenities
Select the page and click Add to Menu.
Or add a custom link to the menu.
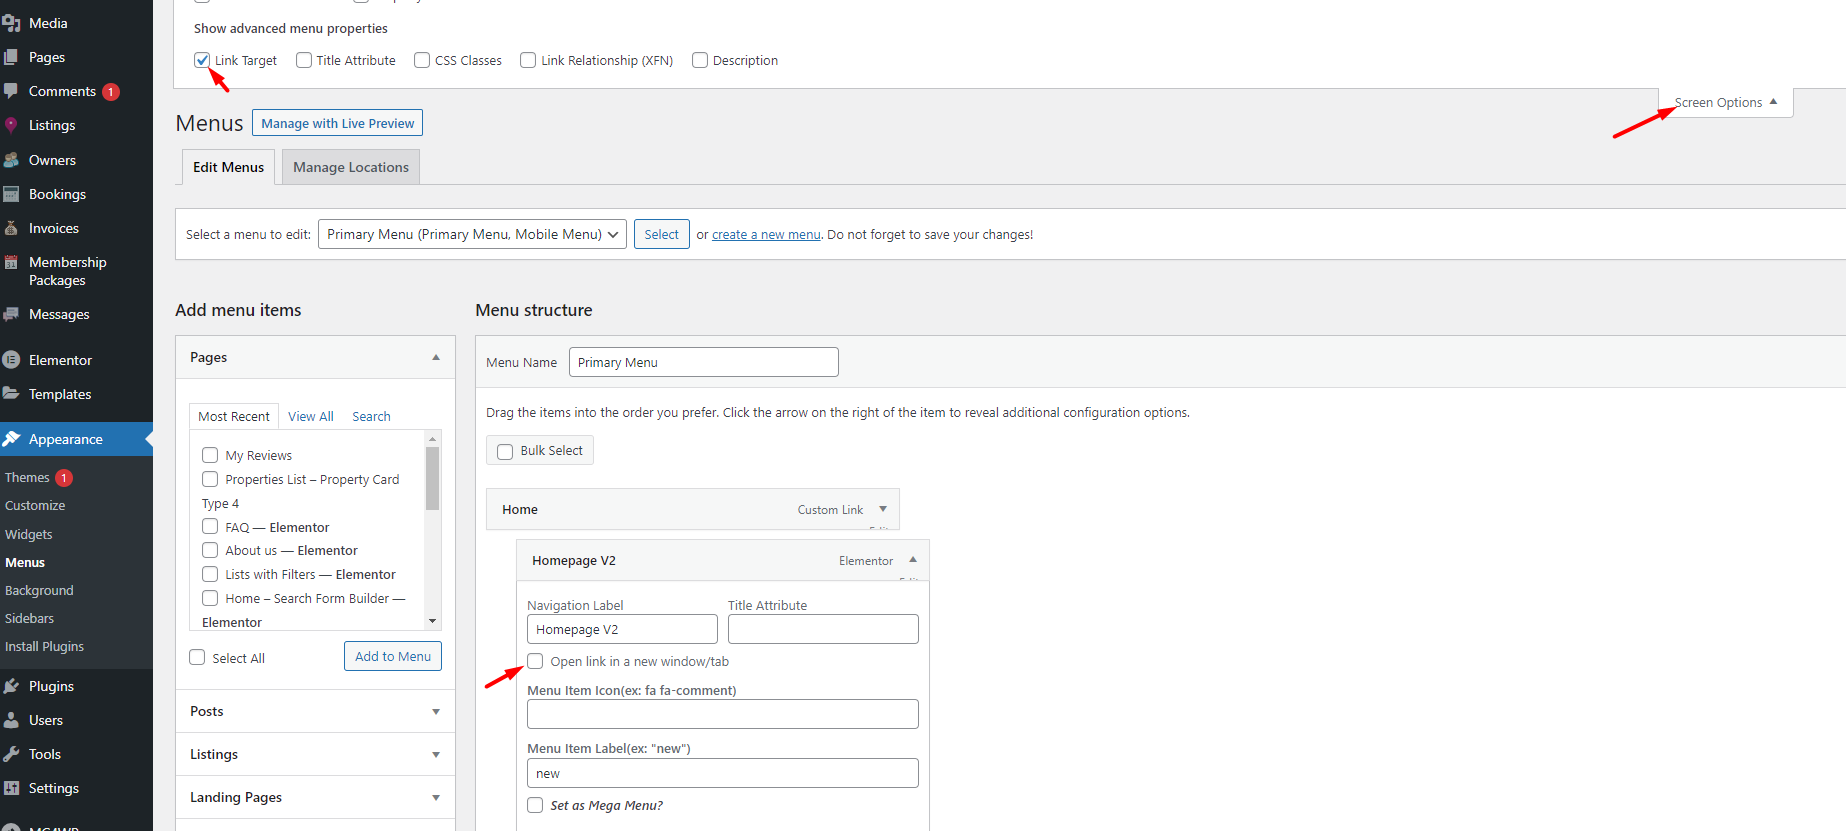
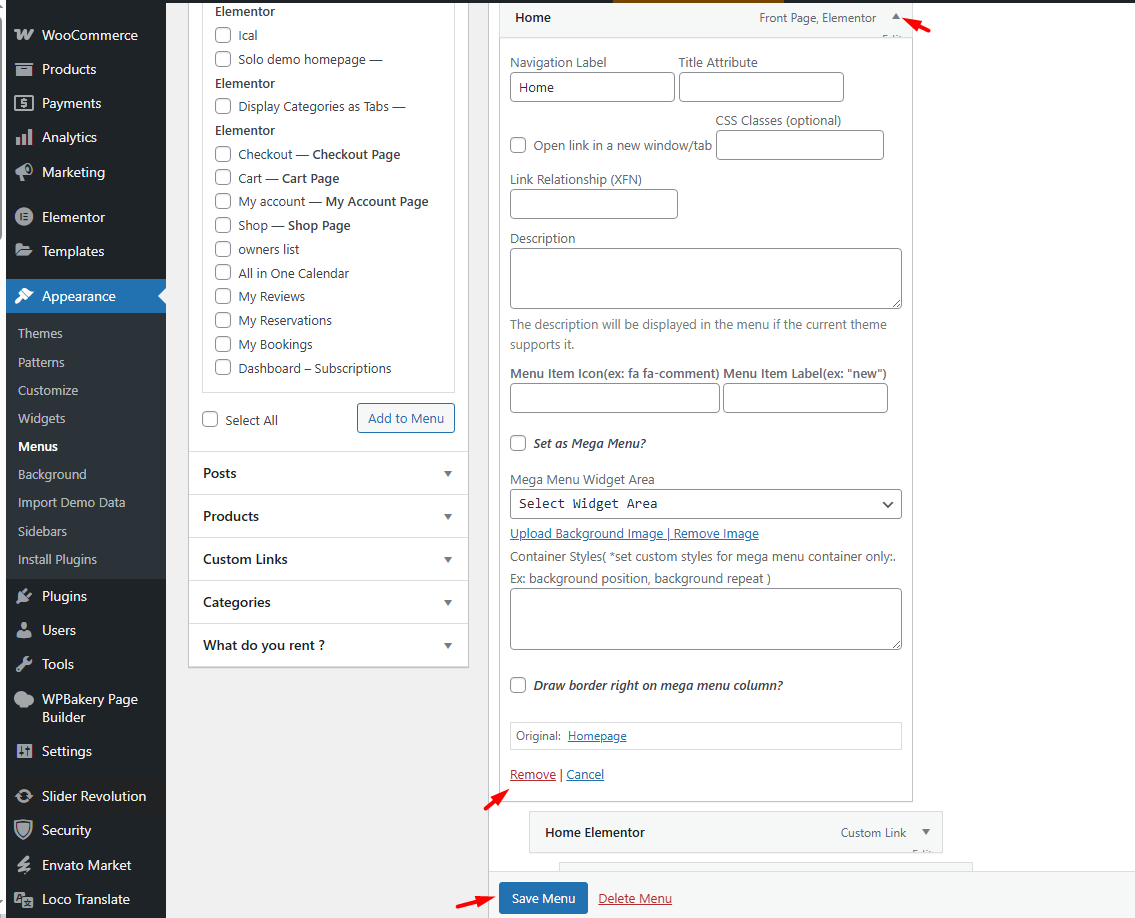
How to Open Menu Items in a New Tab
- Expand the menu item by clicking the arrow on the right side
- Check the option Open link in a new tab
- Save the menu
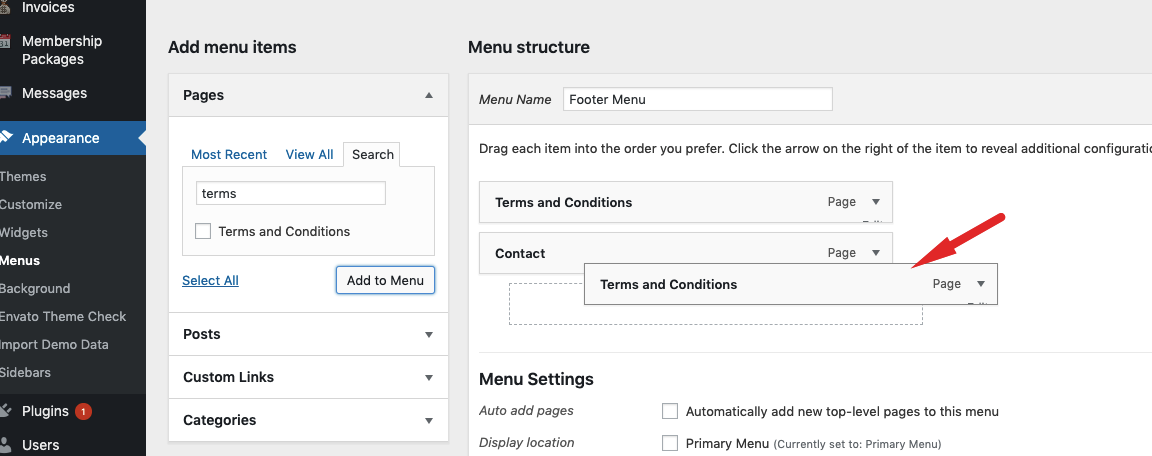
How to Reorder Menu Items
You can use drag and drop to reorder menu items or create submenu levels.
To create a submenu, drag a menu item slightly to the right under its parent item.
How to Enable and Use the Mega Menu
In WpRentals, the Mega Menu lets you create advanced multi-column dropdown menus. This is useful when you want to display a larger number of links in a more structured layout.

Step 1. Go to Menus
- Go to Appearance > Menus
Step 2. Create a Top-Level Parent Menu Item
- Add a page or custom link that will act as the Mega Menu parent item
- This parent item must have submenu items underneath it
Step 3. Add Submenu Levels
- Add first-level submenu items under the parent item. These will act as the column headings
- Add second-level submenu items under each of those. These will be the links shown inside the columns
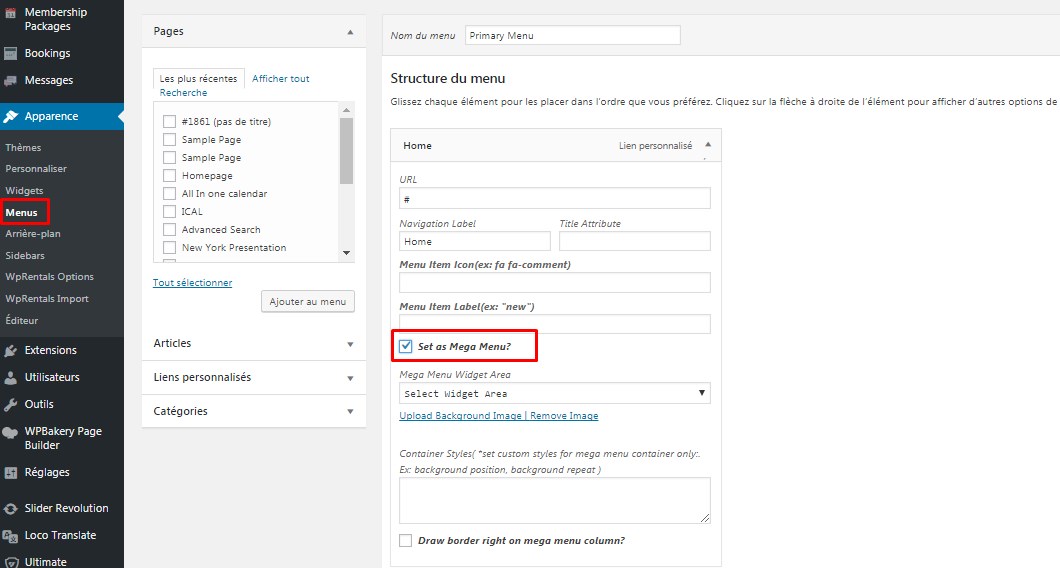
Step 4. Enable Mega Menu Format
- Open the top-level parent menu item
- In the WpRentals custom menu options, enable Set as Mega Menu
Step 5. Save and Assign the Menu
Make sure the menu is assigned to the Main Menu location from the Menu Settings area.
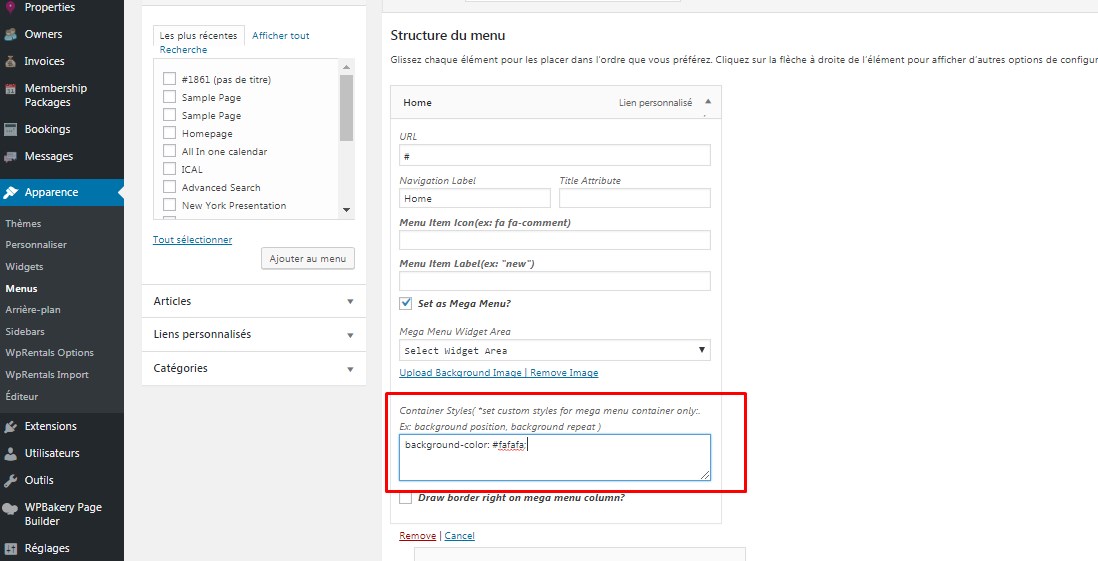
How to Add a Background Color to the Mega Menu
If you want to change the Mega Menu background color, you can do that with custom CSS.
Example:
background-color: #fafafa;
Replace the color code with the one you want to use.
How to Edit an Existing Menu
- Go to Appearance > Menus
- Use the dropdown at the top to select the menu you want to edit
- Click Select
- Add, remove, or reorder items as needed
- Click Save Menu
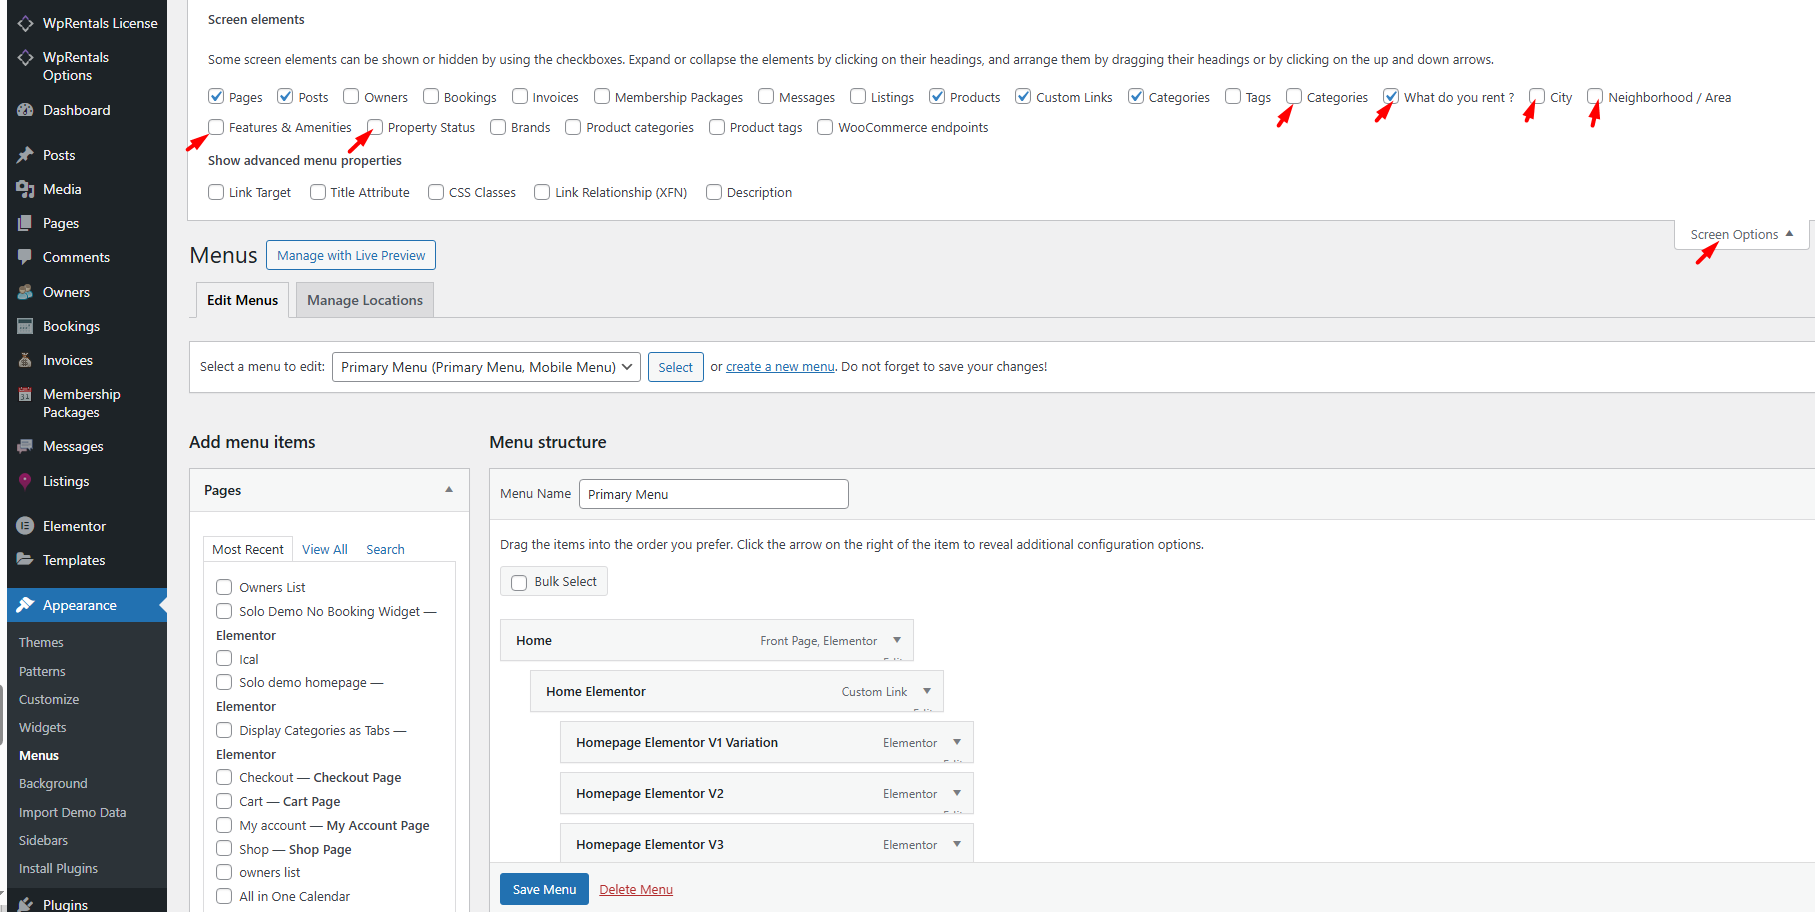
How to Add Categories, Areas, Actions, and Cities to Your Menu
- On the Menus page, click Screen Options from the top right corner
- Enable the panels you want to use, such as:
- Categories
- Action / What do you rent?
- City
- Area / Neighborhood
- Property Status
- Features & Amenities
- After enabling them, these panels will appear on the left side of the Menus screen
- Select the items you want and click Add to Menu
- Use drag and drop to organize them
- Save the menu
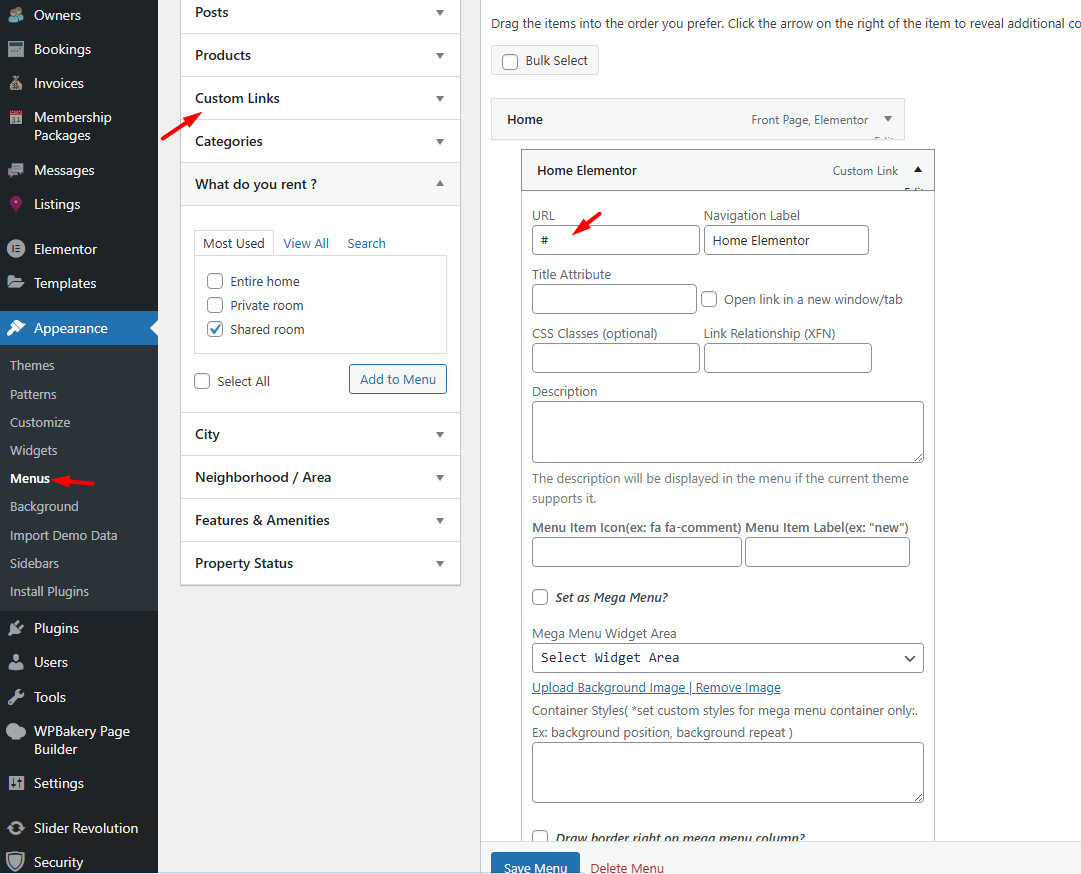
How to Make Sub-Menus Open on Mobile Devices
To make submenus open correctly on phones and tablets:
- Create a parent menu item using a Custom Link with # as the URL
- Add submenu items under that parent item
- Save the menu
This setup helps the parent item act as a trigger for opening the submenu on mobile devices.