By default, WordPress automatically compresses images to 85% quality when generating thumbnails.
According to the WordPress documentation, this behavior can be modified using a custom filter. By using this hook, you can change the compression level—or even set it to 100%—so resized images retain the same quality as the originals.
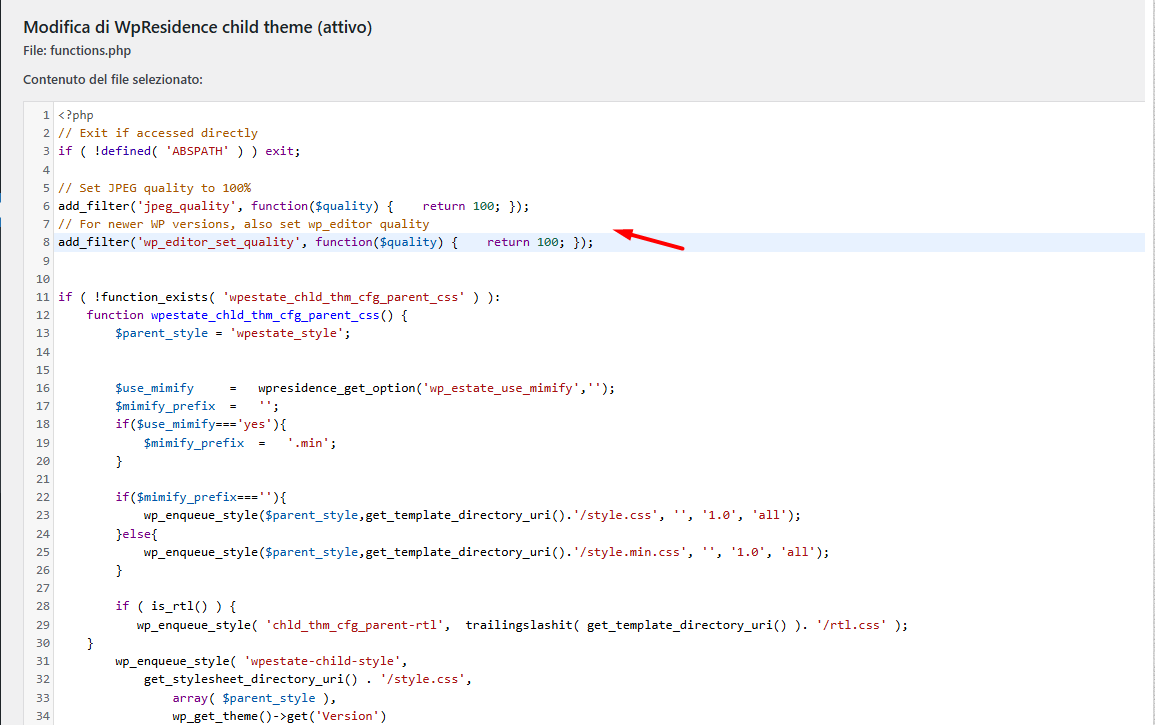
Add the following code to your
wprentals-child/functions.php
// Set JPEG quality to 100%

add_filter('jpeg_quality', function($quality) { return 100; });

// For newer WP versions, also set

add_filter('wp_editor_set_quality', function($quality) { return 100; });
2. Regenerate Thumbnails
After adding the code:
-
Install a plugin like Force Regenerate Thumbnails.
-
Run the plugin to regenerate all existing thumbnails.
-
Check if the images now look crisp and sharp on your site.
Next install a plugin to regenerate the thumbs and confirm after if the quality is as you wish.
Optional: Show Current Image Quality in Admin Bar
To confirm the quality filters are applied, you can add a small indicator to your admin toolbar. Add this snippet to the same functions.php file:
When logged in, you’ll see something like:
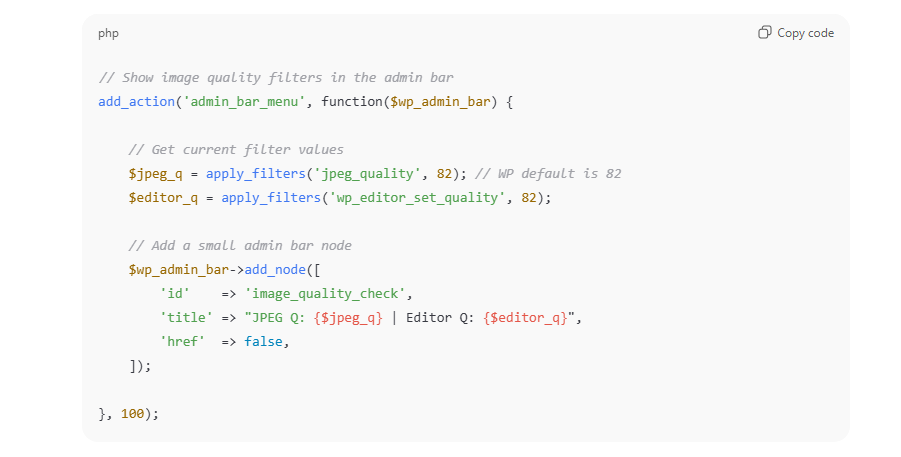
-
Adds a small indicator in the WordPress admin bar (top toolbar).
-
When you’re logged in, you’ll see something like:
JPEG Q: 100 | Editor Q: 100
-
If you still see 82, your filter isn’t being applied (or something is overriding it).
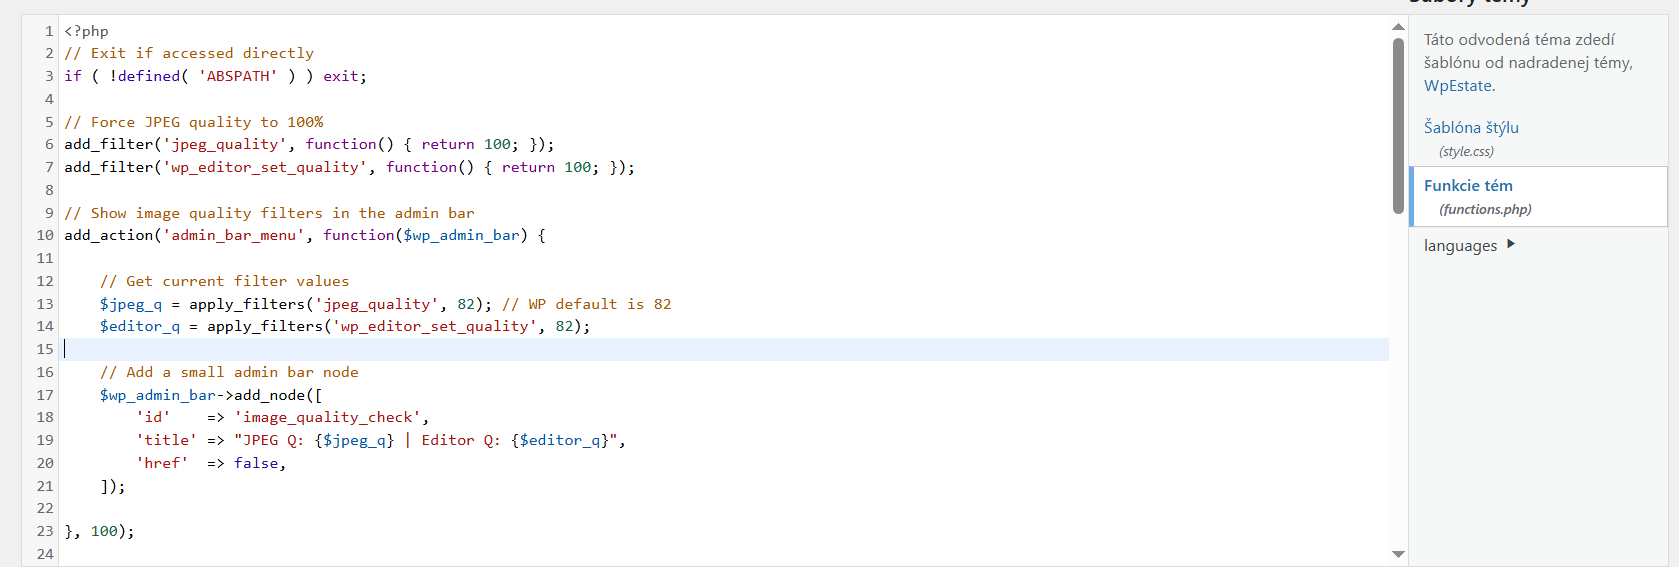
Next step if it shows wrong values
If it still shows 82 or another number, the filters are not being applied, and you may need to add them again above/below your existing code:
You can add this snippet to your child theme’s functions.php (or a small custom plugin if you prefer)
Notes & Recommendations
-
After regenerating thumbnails, clear your caching plugin (if any) to see updated images.
-
Make sure your images are originally high-resolution; increasing JPEG quality does not enlarge a low-resolution image.
-
This method works for WpResidence, WpRentals, or any WordPress theme using standard WordPress media handling.