In this video, you will learn how to use the WPRentals Grid widget to create a section where the listing categories will be displayed.
Watch Video on Youtube
The WPRentals Grids widget in Elementor helps you display your property categories, such as cities, listing types, categories, or areas, in a beautiful grid layout on your website. It helps visitors explore your site more easily by browsing these categories.
Edit Page with Elementor
- Go to the page where you want to add the categories grid, such as your homepage.
- Click Edit with Elementor.
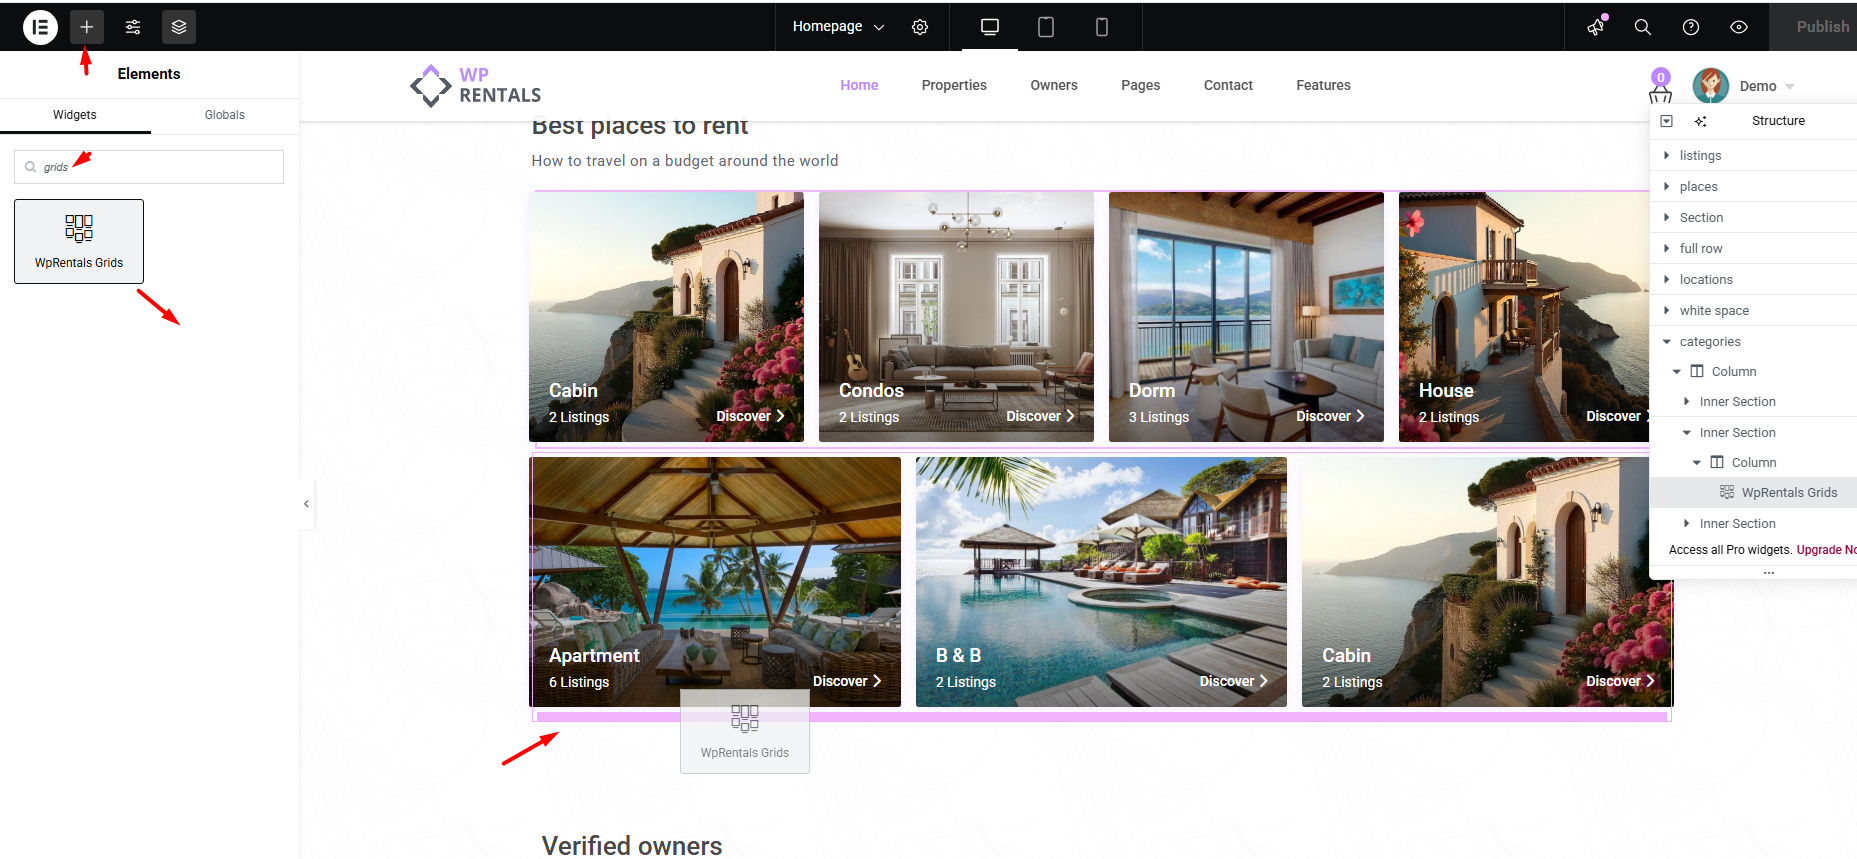
Add the Grids Widget
- In the Elementor sidebar, search for Grids.
- Find the WP Rentals Grids widget and drag it into the section where you want the grid to appear.
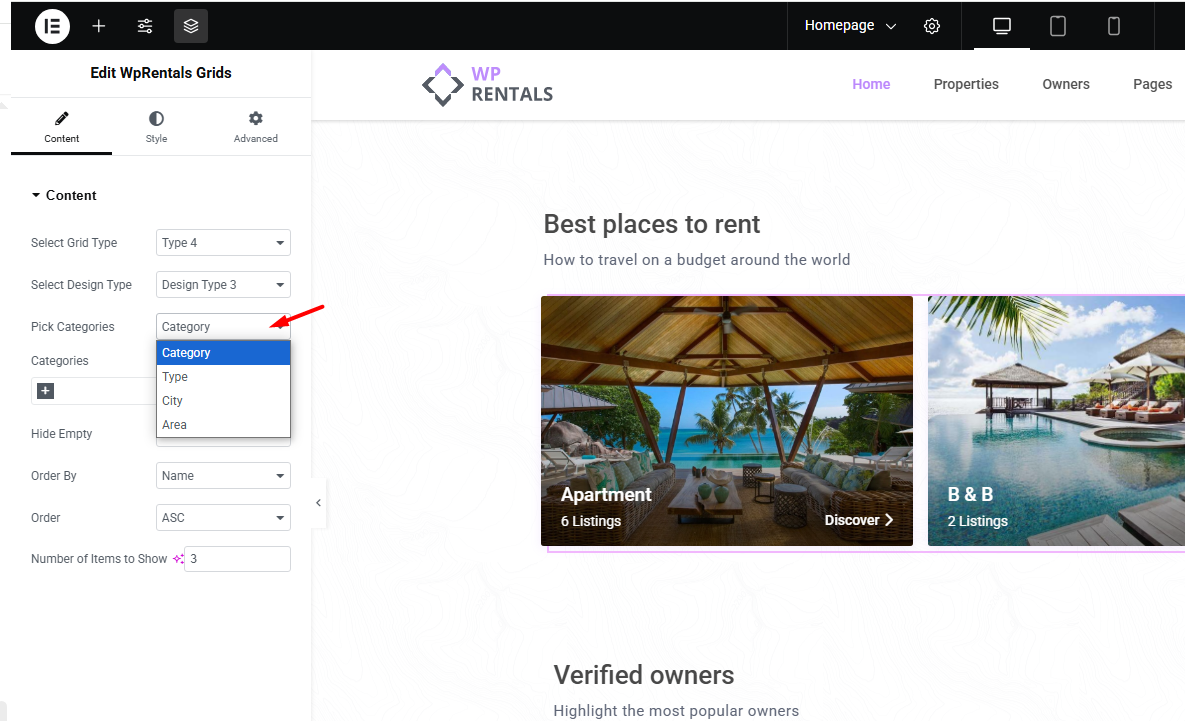
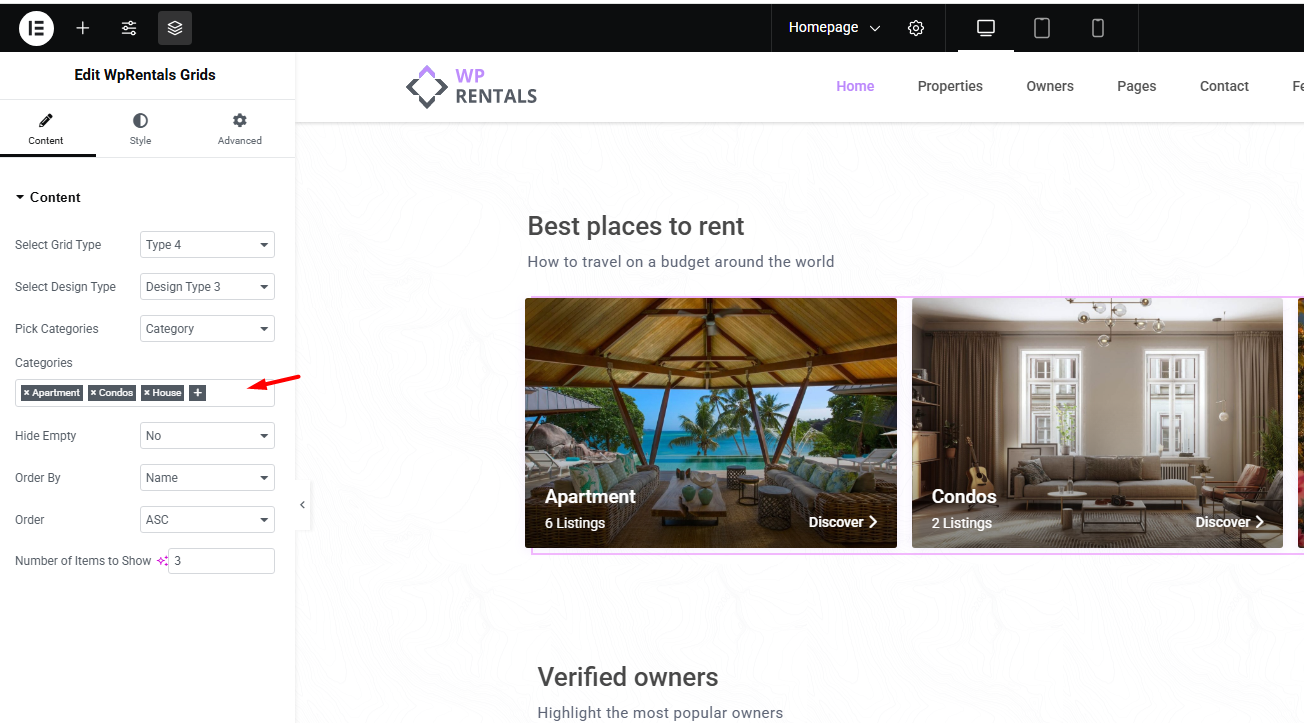
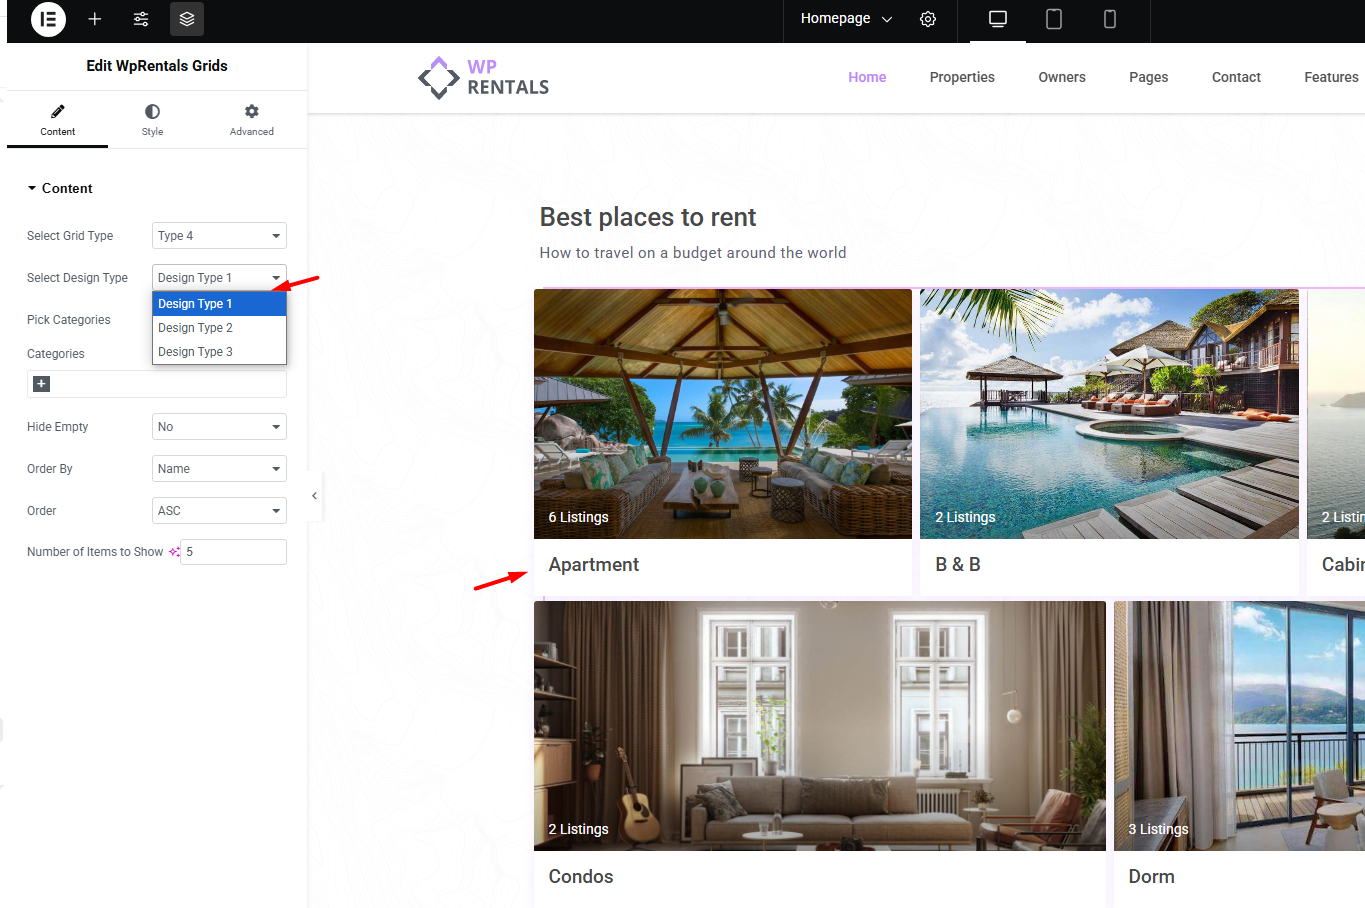
Choose Your Categories
- In the widget Content settings, select which type of categories you want to show. For example:
- Cities
- Areas
- Property Types
- Property Categories
- You can choose to show all categories or manually select only a few.
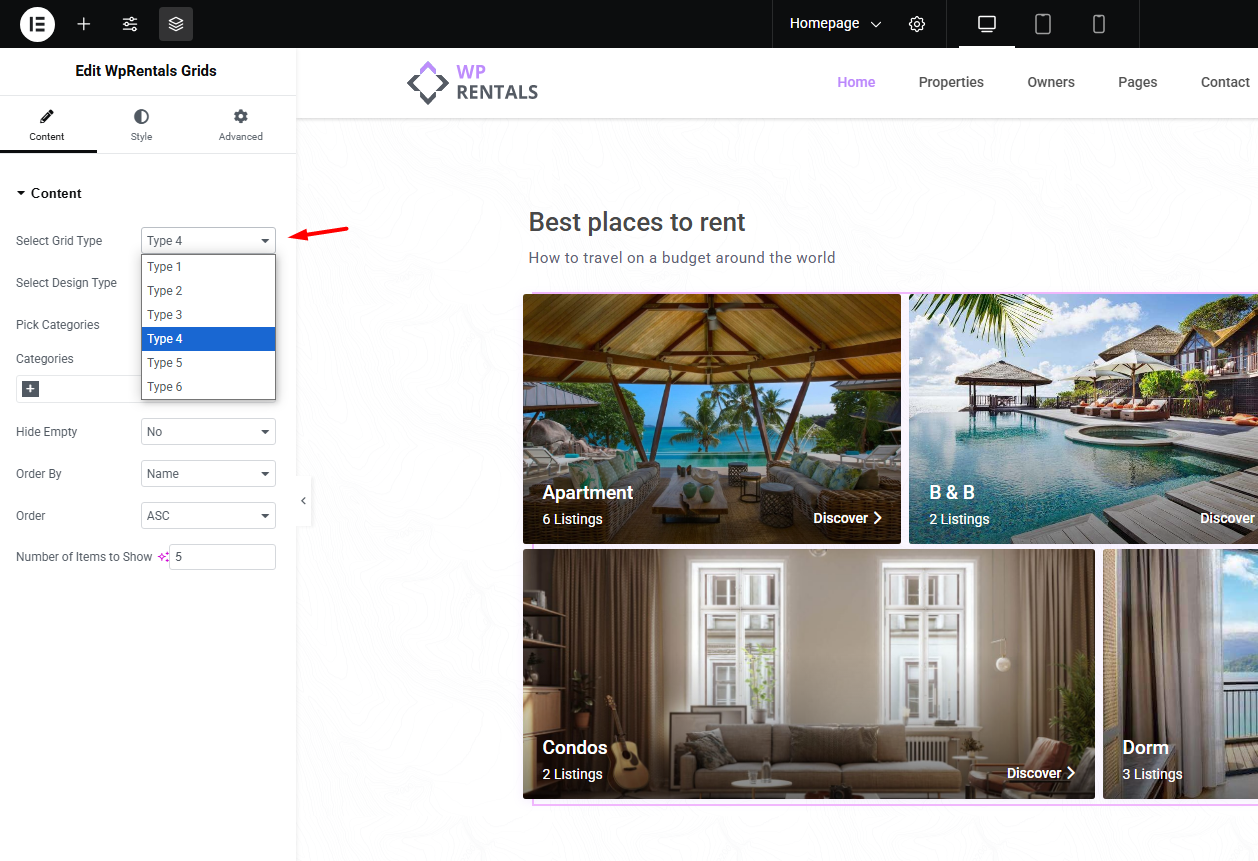
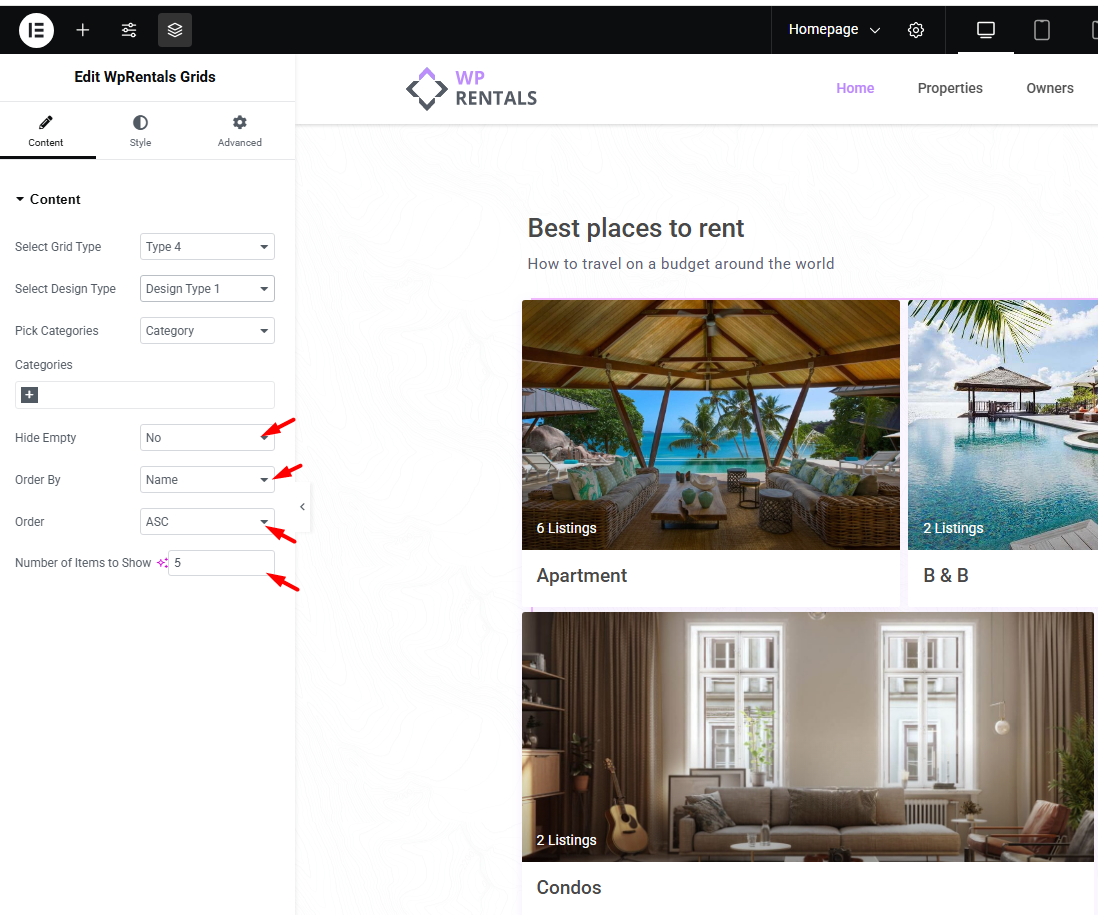
Customize the Grid
- Pick the grid layout type and design style that best fit your site.
- Choose how many categories to display.
- Decide if you want to hide categories that do not have any listings yet.
- Set the order of categories, such as by name or by count.
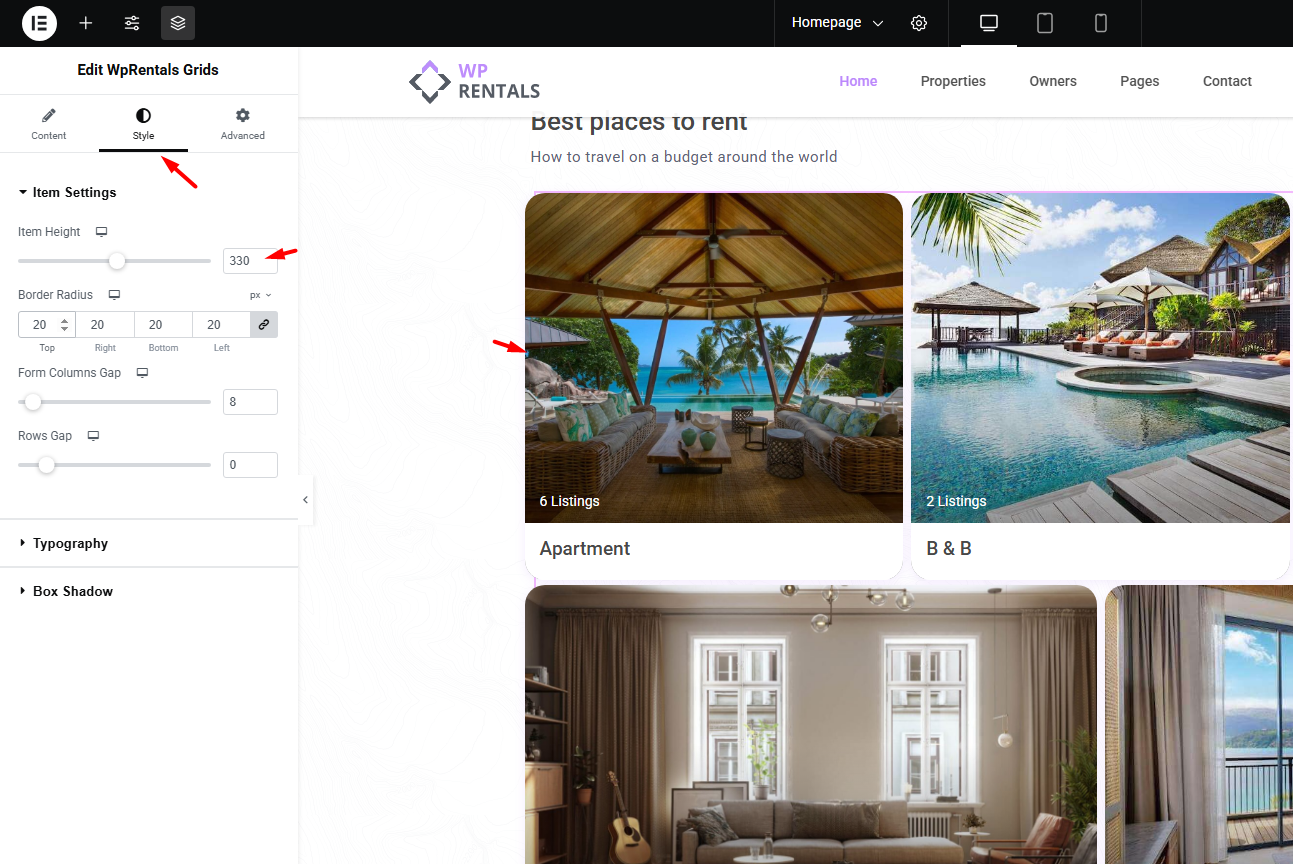
Style the Grid
- Adjust the height of each grid item.
- Change the border radius for rounded corners.
- Set the spacing between columns and rows to keep everything neat.
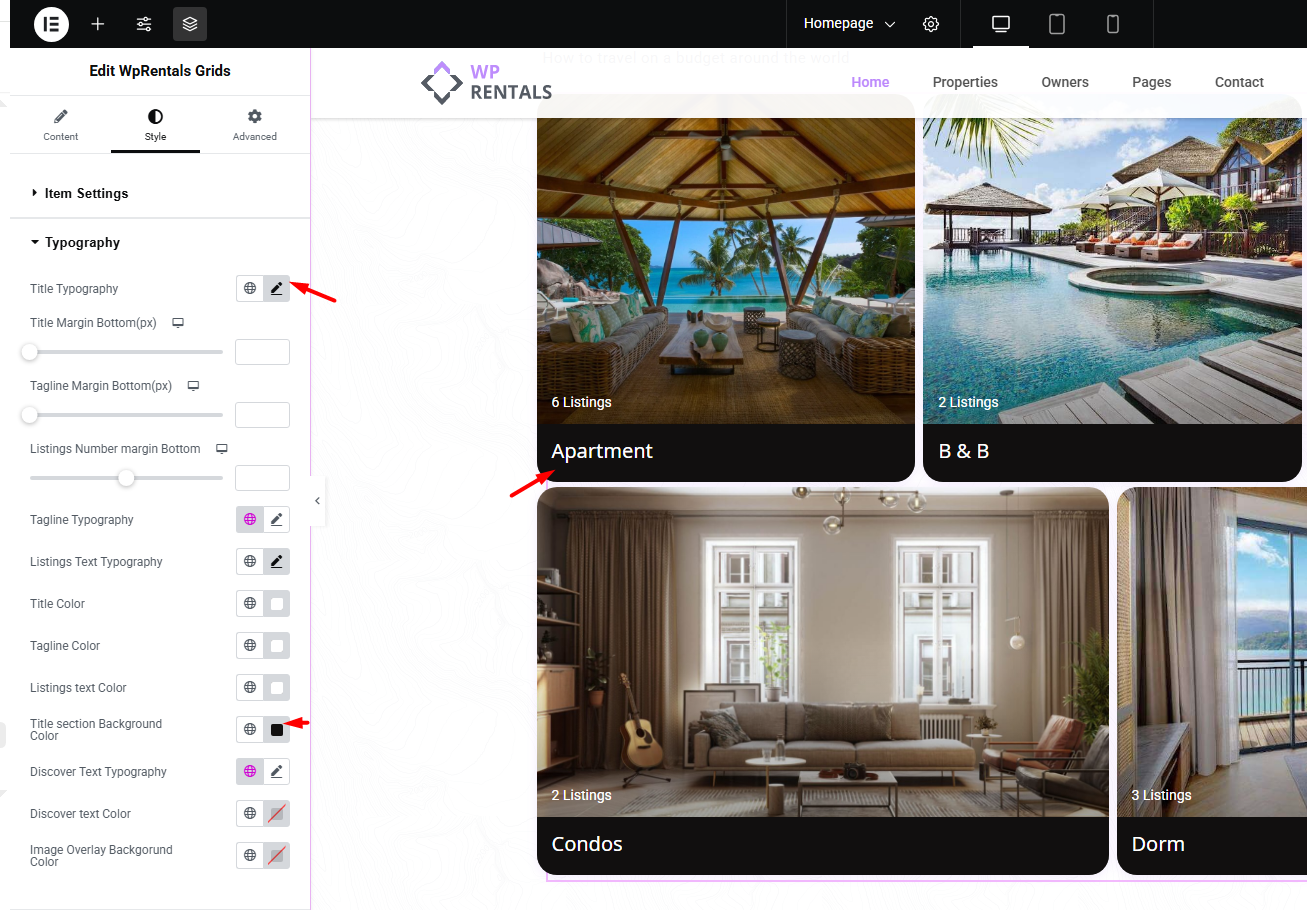
- Customize fonts, colors, and the position of the text on the category images.
How to Add Images to Categories for the WP Rentals Grids Widget
Go to the Categories Section
- In the dashboard menu, go to Listings, Bookings & More or your custom post type menu.
- Click on Categories or the taxonomy you want to use, such as Cities, Categories, Areas, or Types.

Edit or Add a Category
- To add an image to an existing category, hover over the category name and click Edit.
- To create a new category, type the category name and click Add New Category.

- The category title should match the slug. Let WordPress create the slug automatically.

Set the Category Image
- In the category edit screen, look for the option to upload or set a Featured Image.
- Click Upload/Add Image, choose or upload the image you want, and save the changes by clicking Update.
